

The Leak Showed Up at the Window. The Problem Was Above It.
Window Flashing Repair in Stoneham, MA
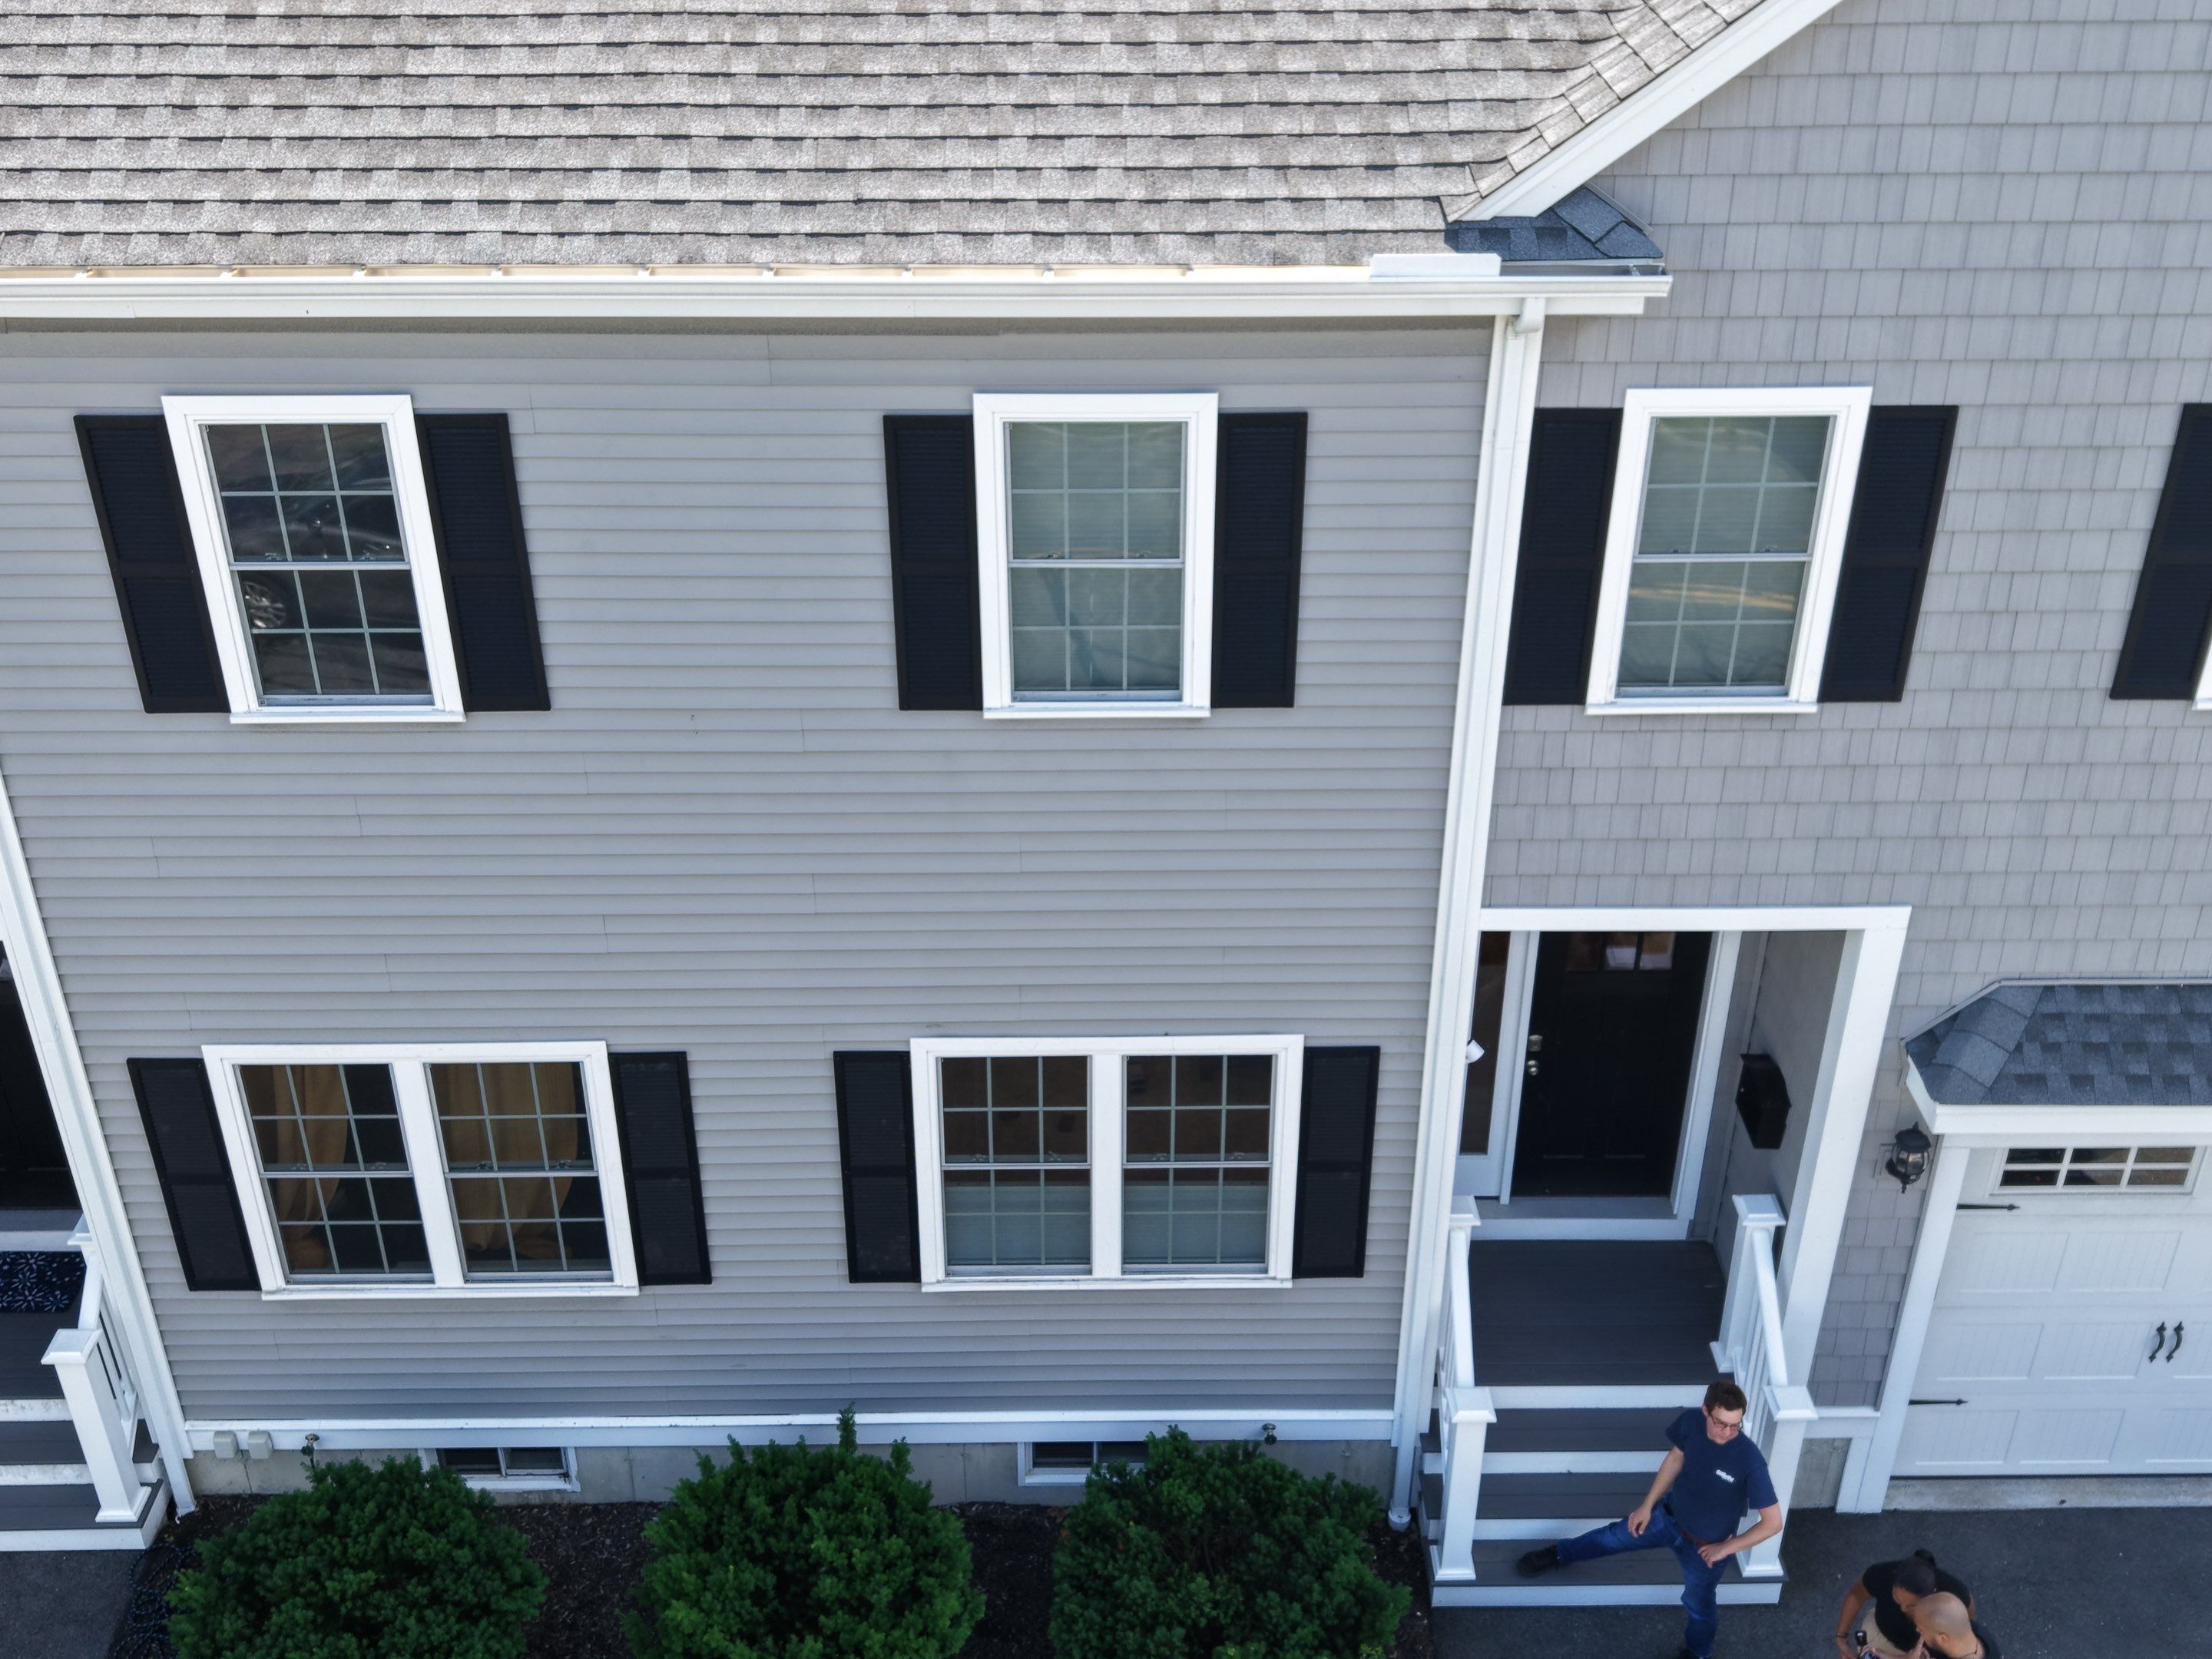
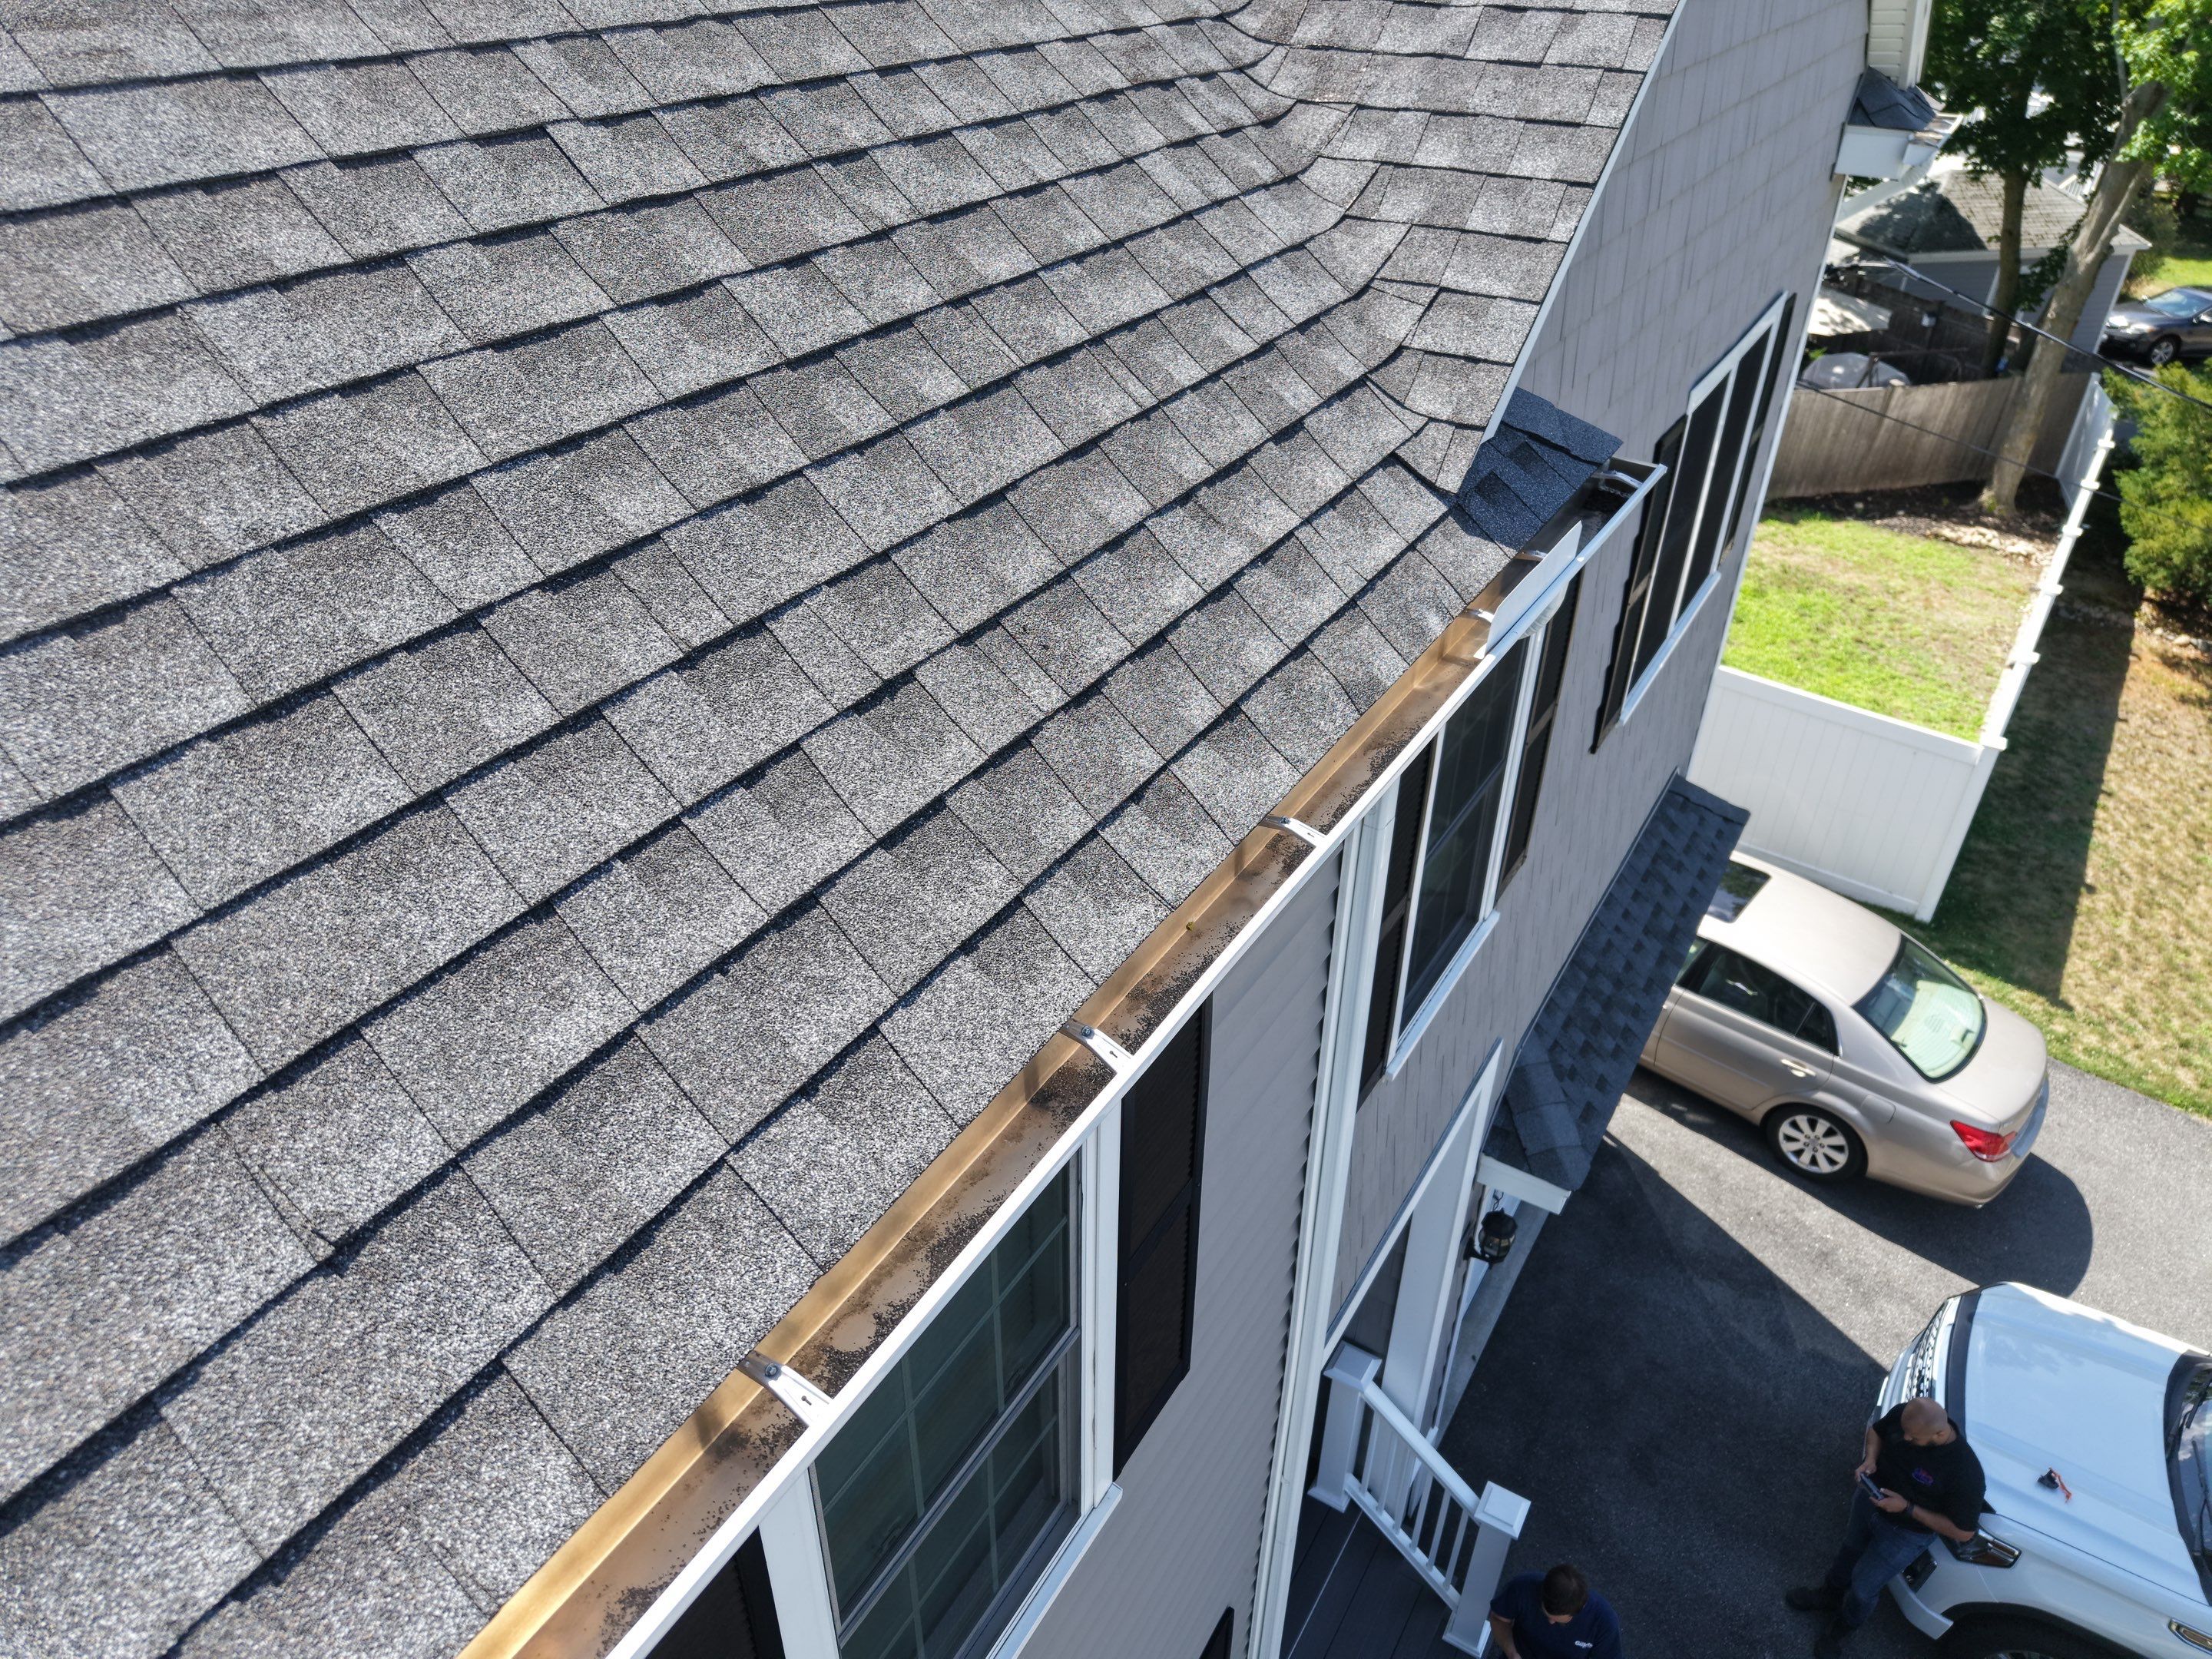
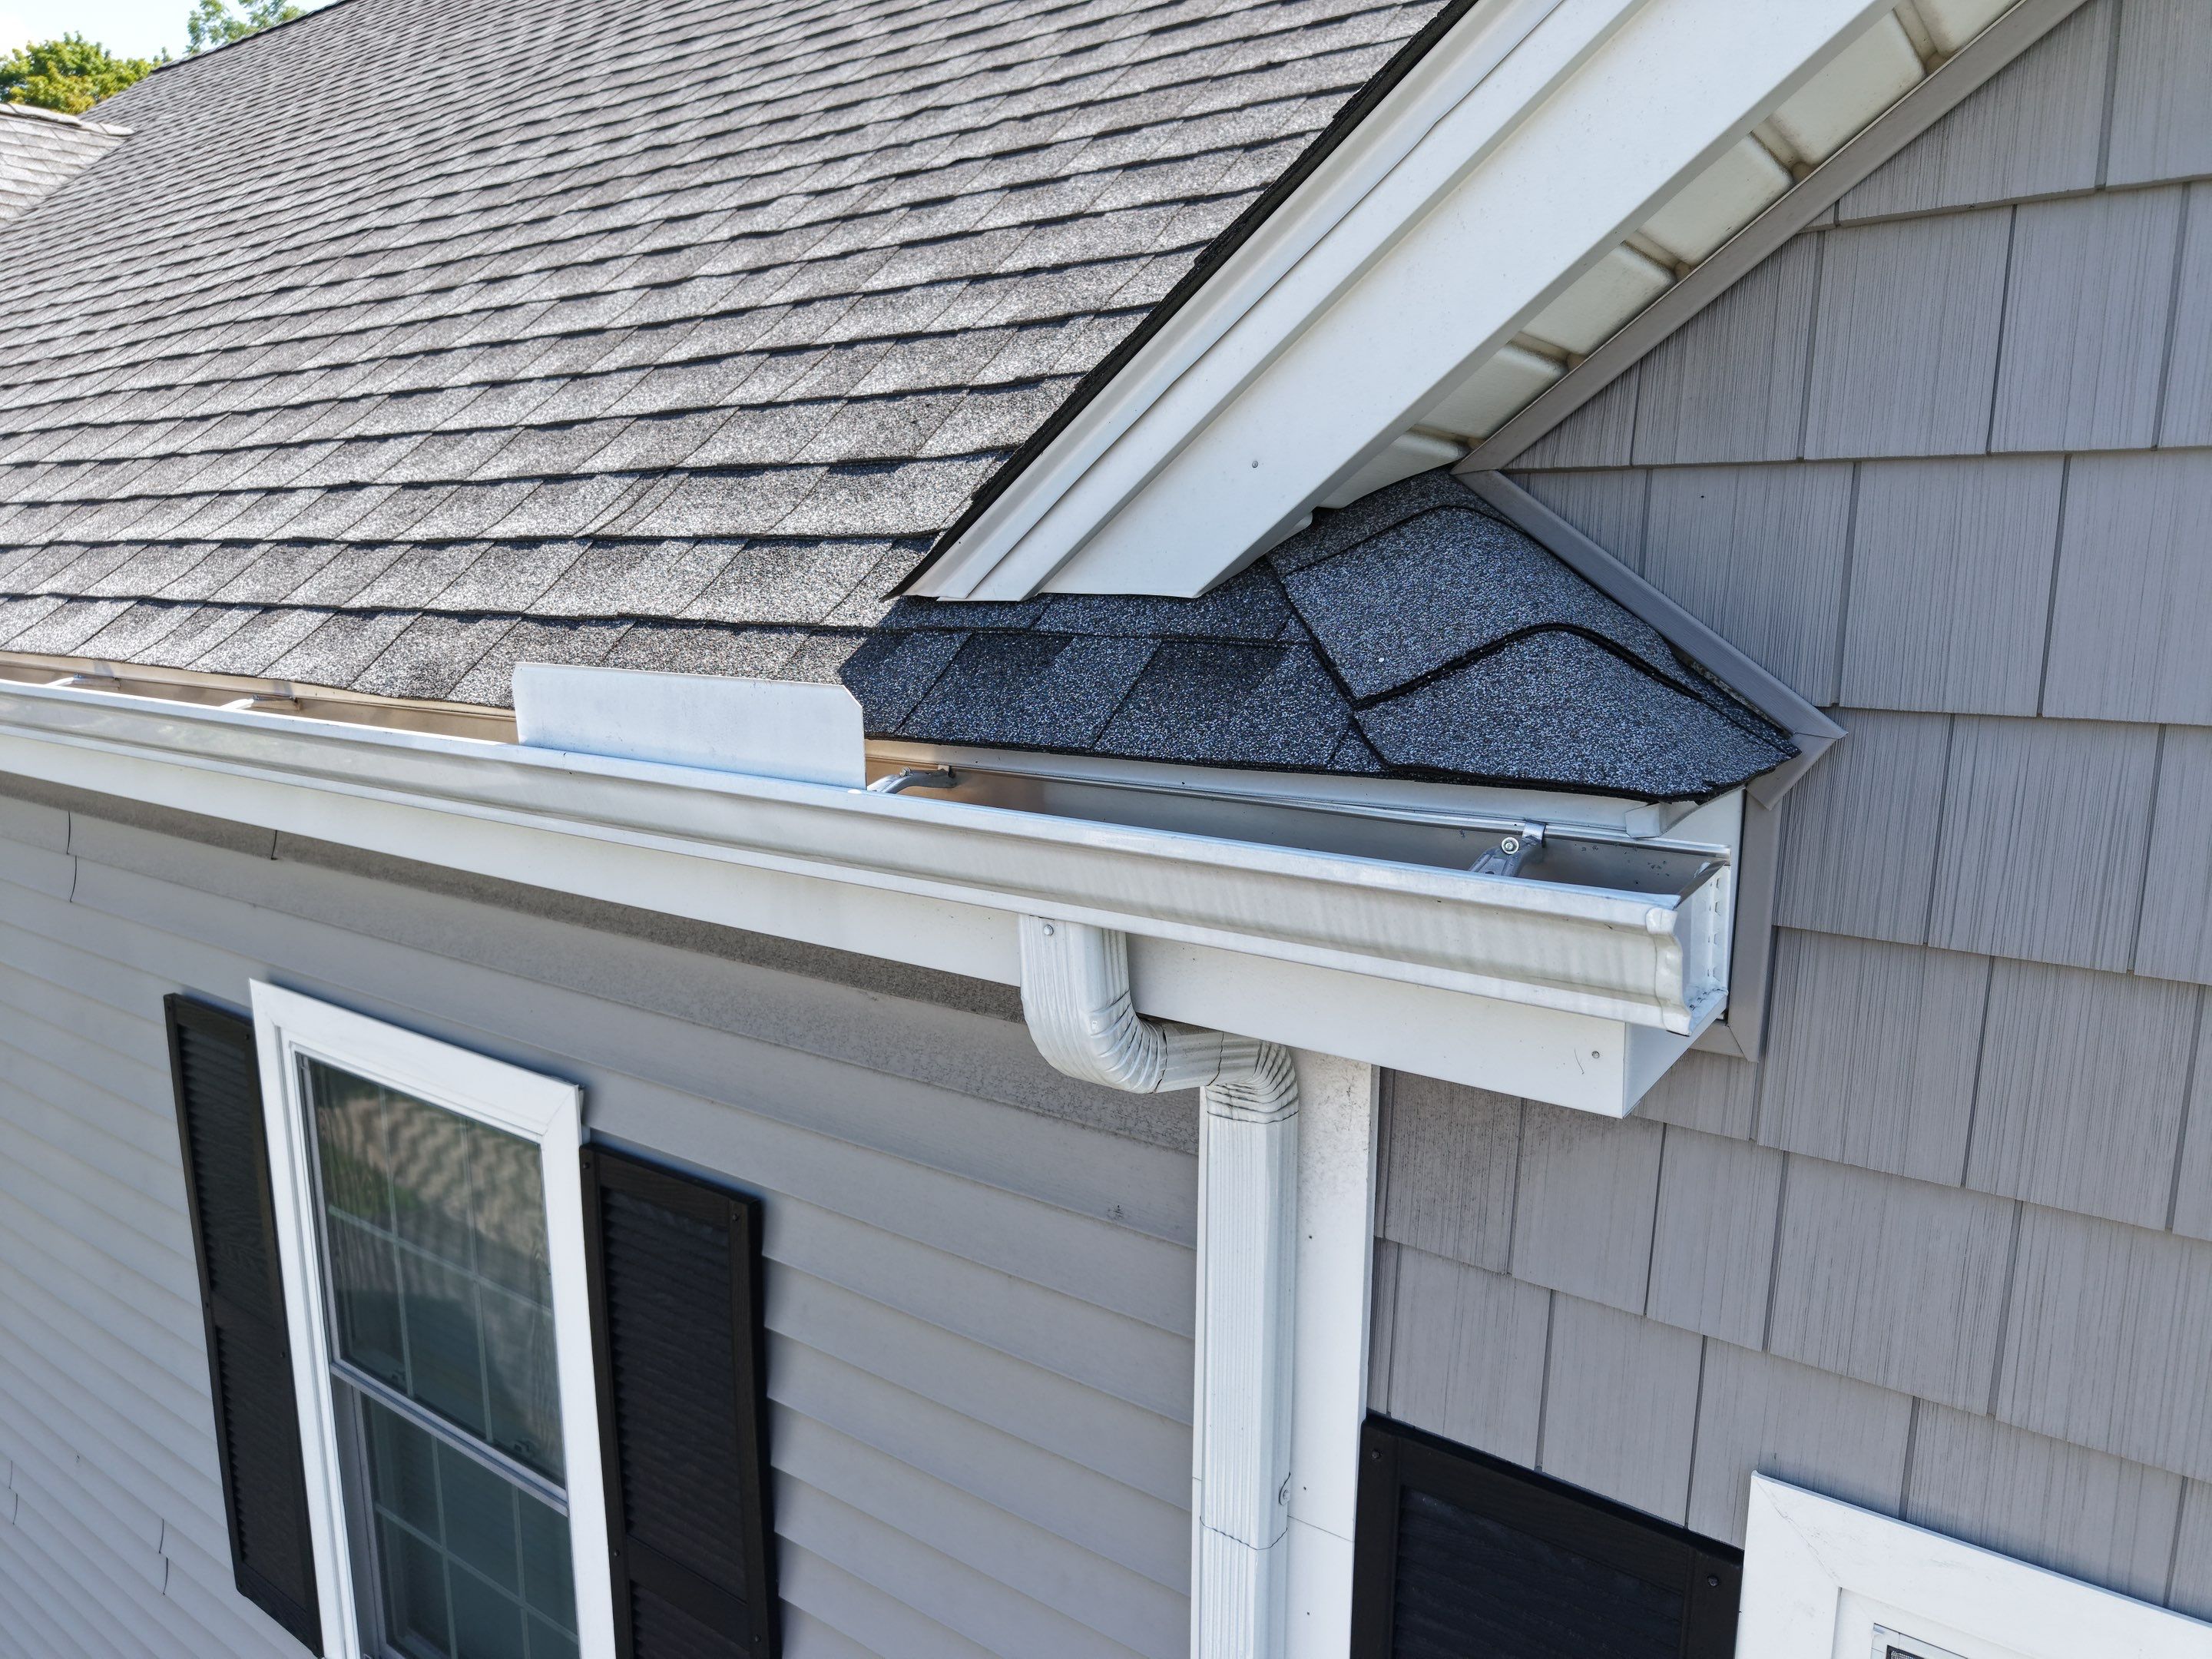
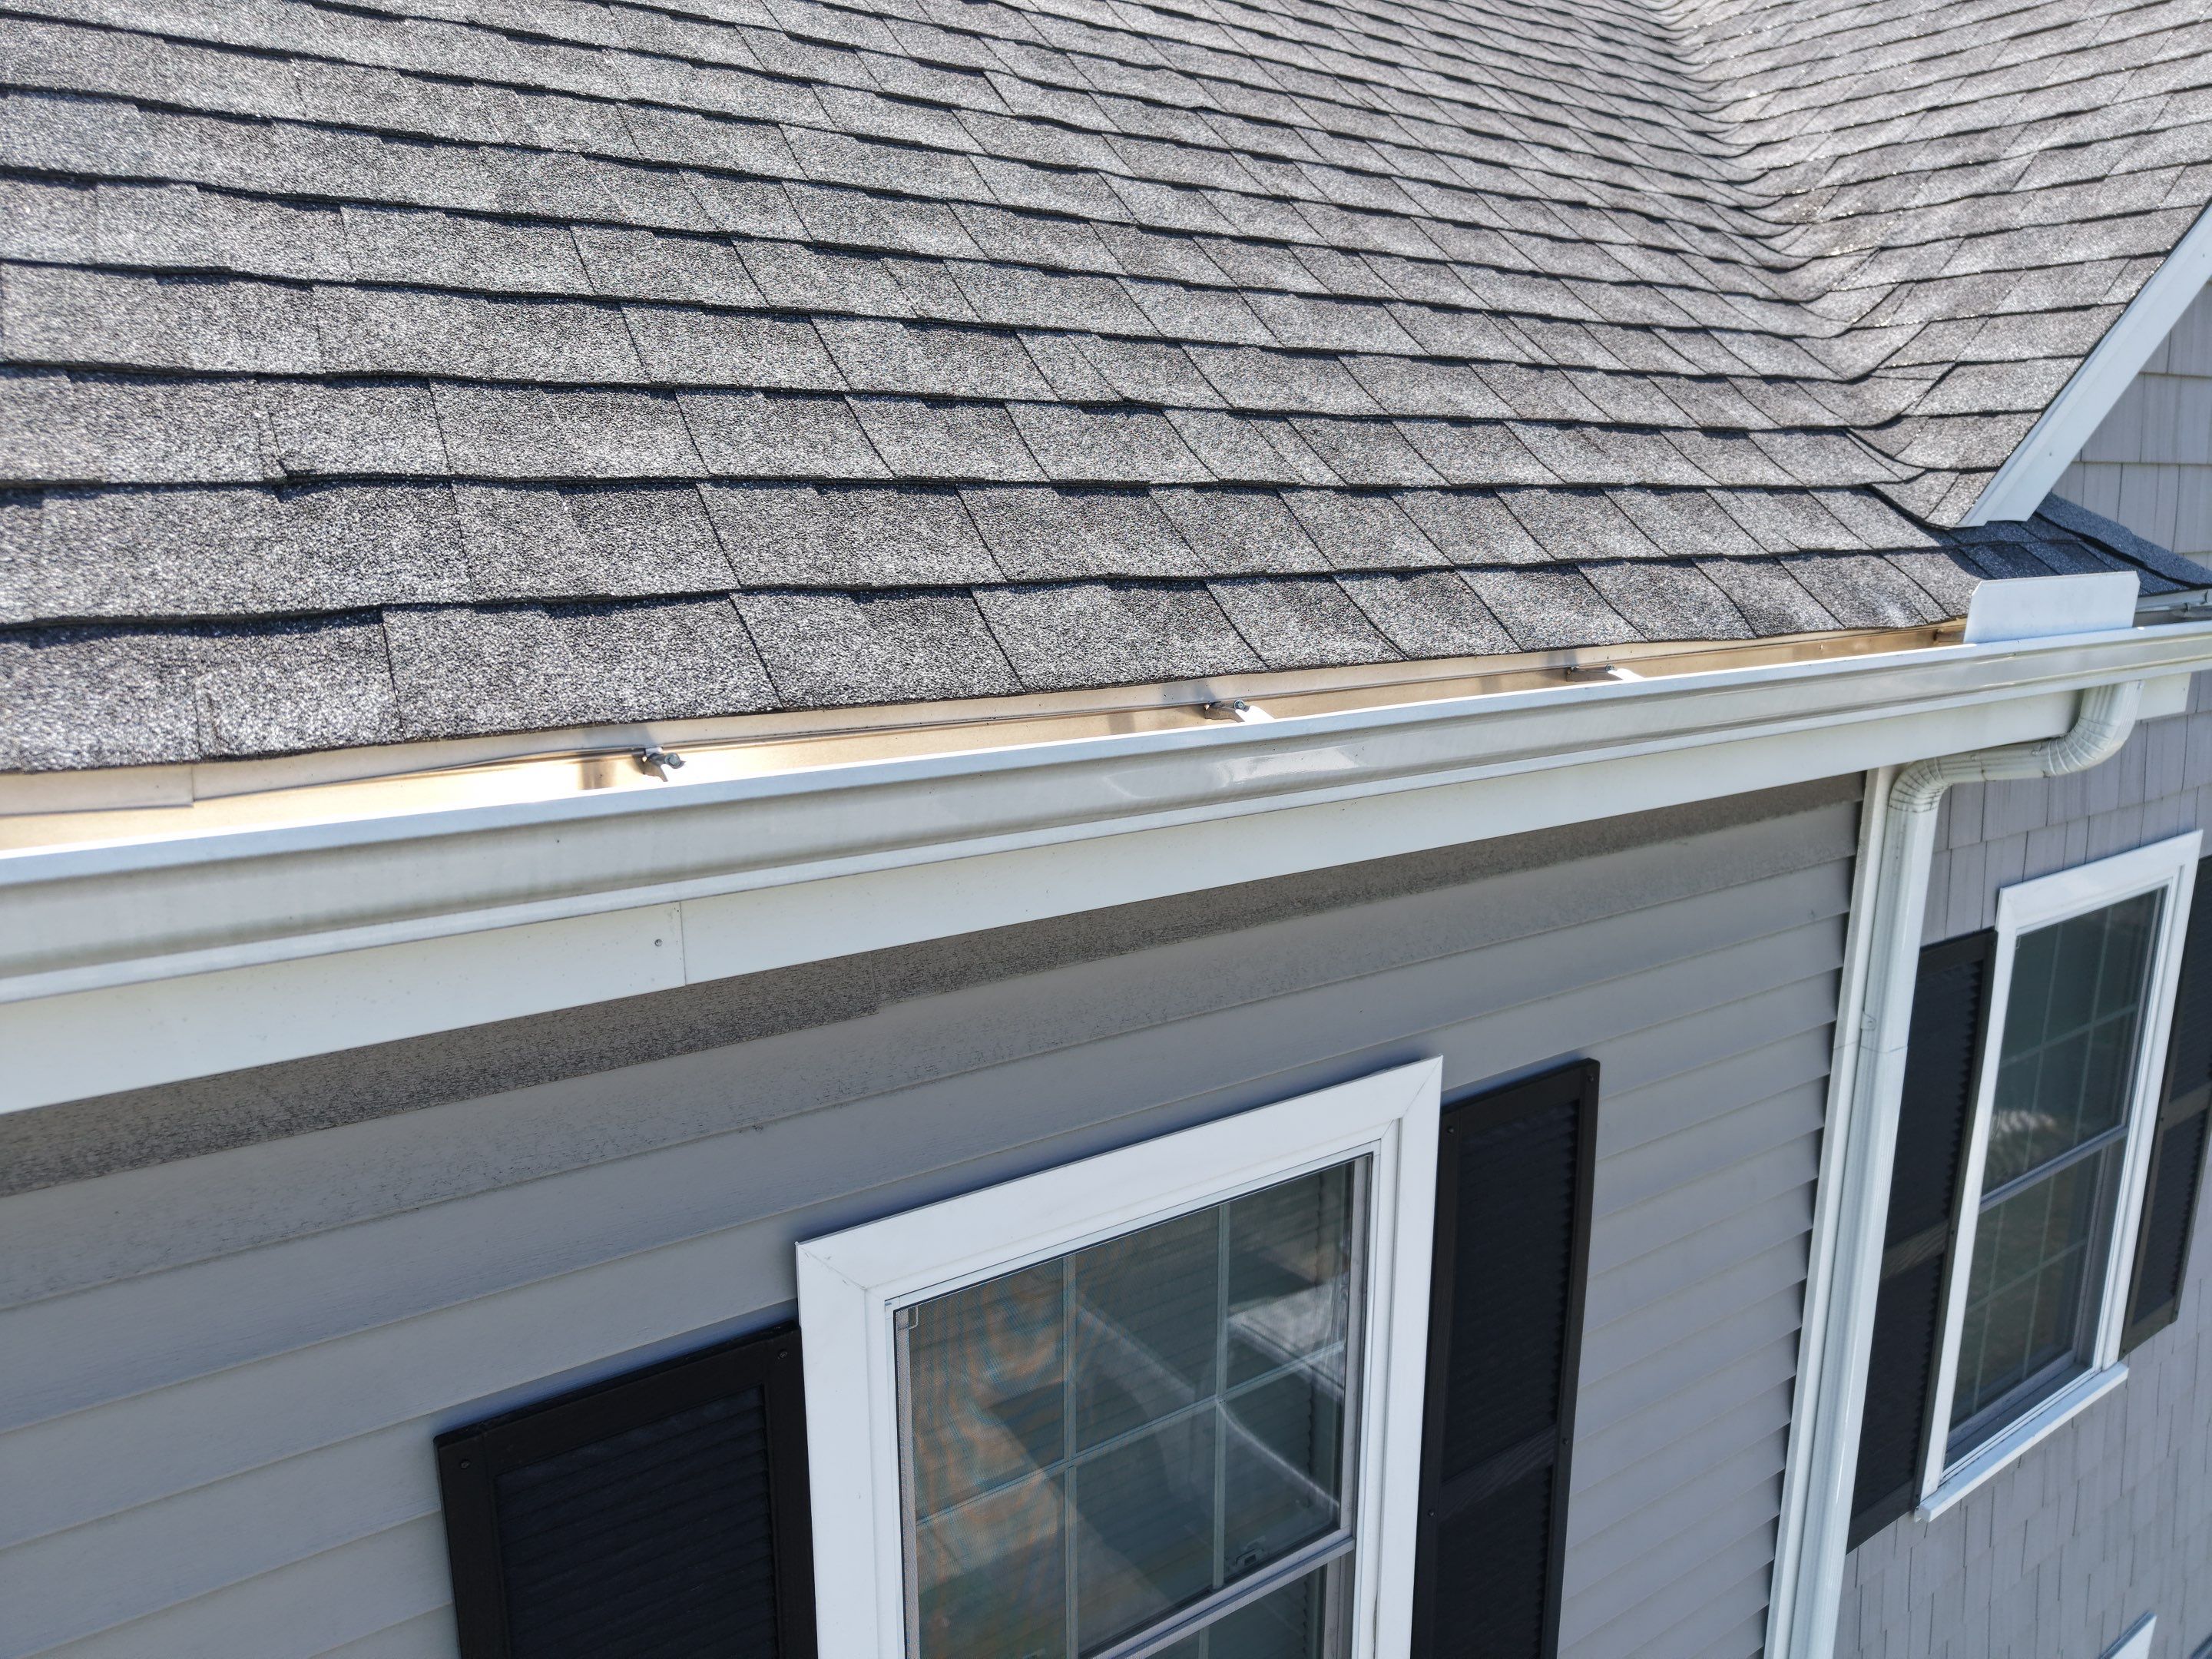
After a windstorm, water began showing up around a first-floor window. The visible leak was inside, but the repair needed to start with the exterior detail above it. A focused inspection helped narrow the problem to the upper window flashing and determine what needed to be opened, checked, and rebuilt to shed water correctly.
SNAPSHOT

A Leak That Started With a Storm
A windstorm was the first sign something had changed. The homeowner noticed water coming through around a first-floor window and wanted to understand whether the issue was the window itself, the siding, or something higher on the wall.
That distinction matters because sealing the inside of a window does not solve water that is entering behind the exterior assembly. The first step was to inspect the exterior path water could be taking before recommending a repair.
A Leak That Started With a Storm
A windstorm was the first sign something had changed. The homeowner noticed water coming through around a first-floor window and wanted to understand whether the issue was the window itself, the siding, or something higher on the wall.
That distinction matters because sealing the inside of a window does not solve water that is entering behind the exterior assembly. The first step was to inspect the exterior path water could be taking before recommending a repair.
Why the Upper Flashing Detail Mattered
Window flashing is designed to move water away from the opening and back onto the exterior drainage plane. When the upper flashing idamaged, poorly integrated, or no longer shedding water correctly, moisture can travel behind siding and trim before it becomes visible indoors.
For this project, the repair was intentionally limited to the upper side of the designated window. Only the siding, trim, or J-channel needed for access would be removed so the underlying condition could be evaluated without opening more of the wall than necessary.
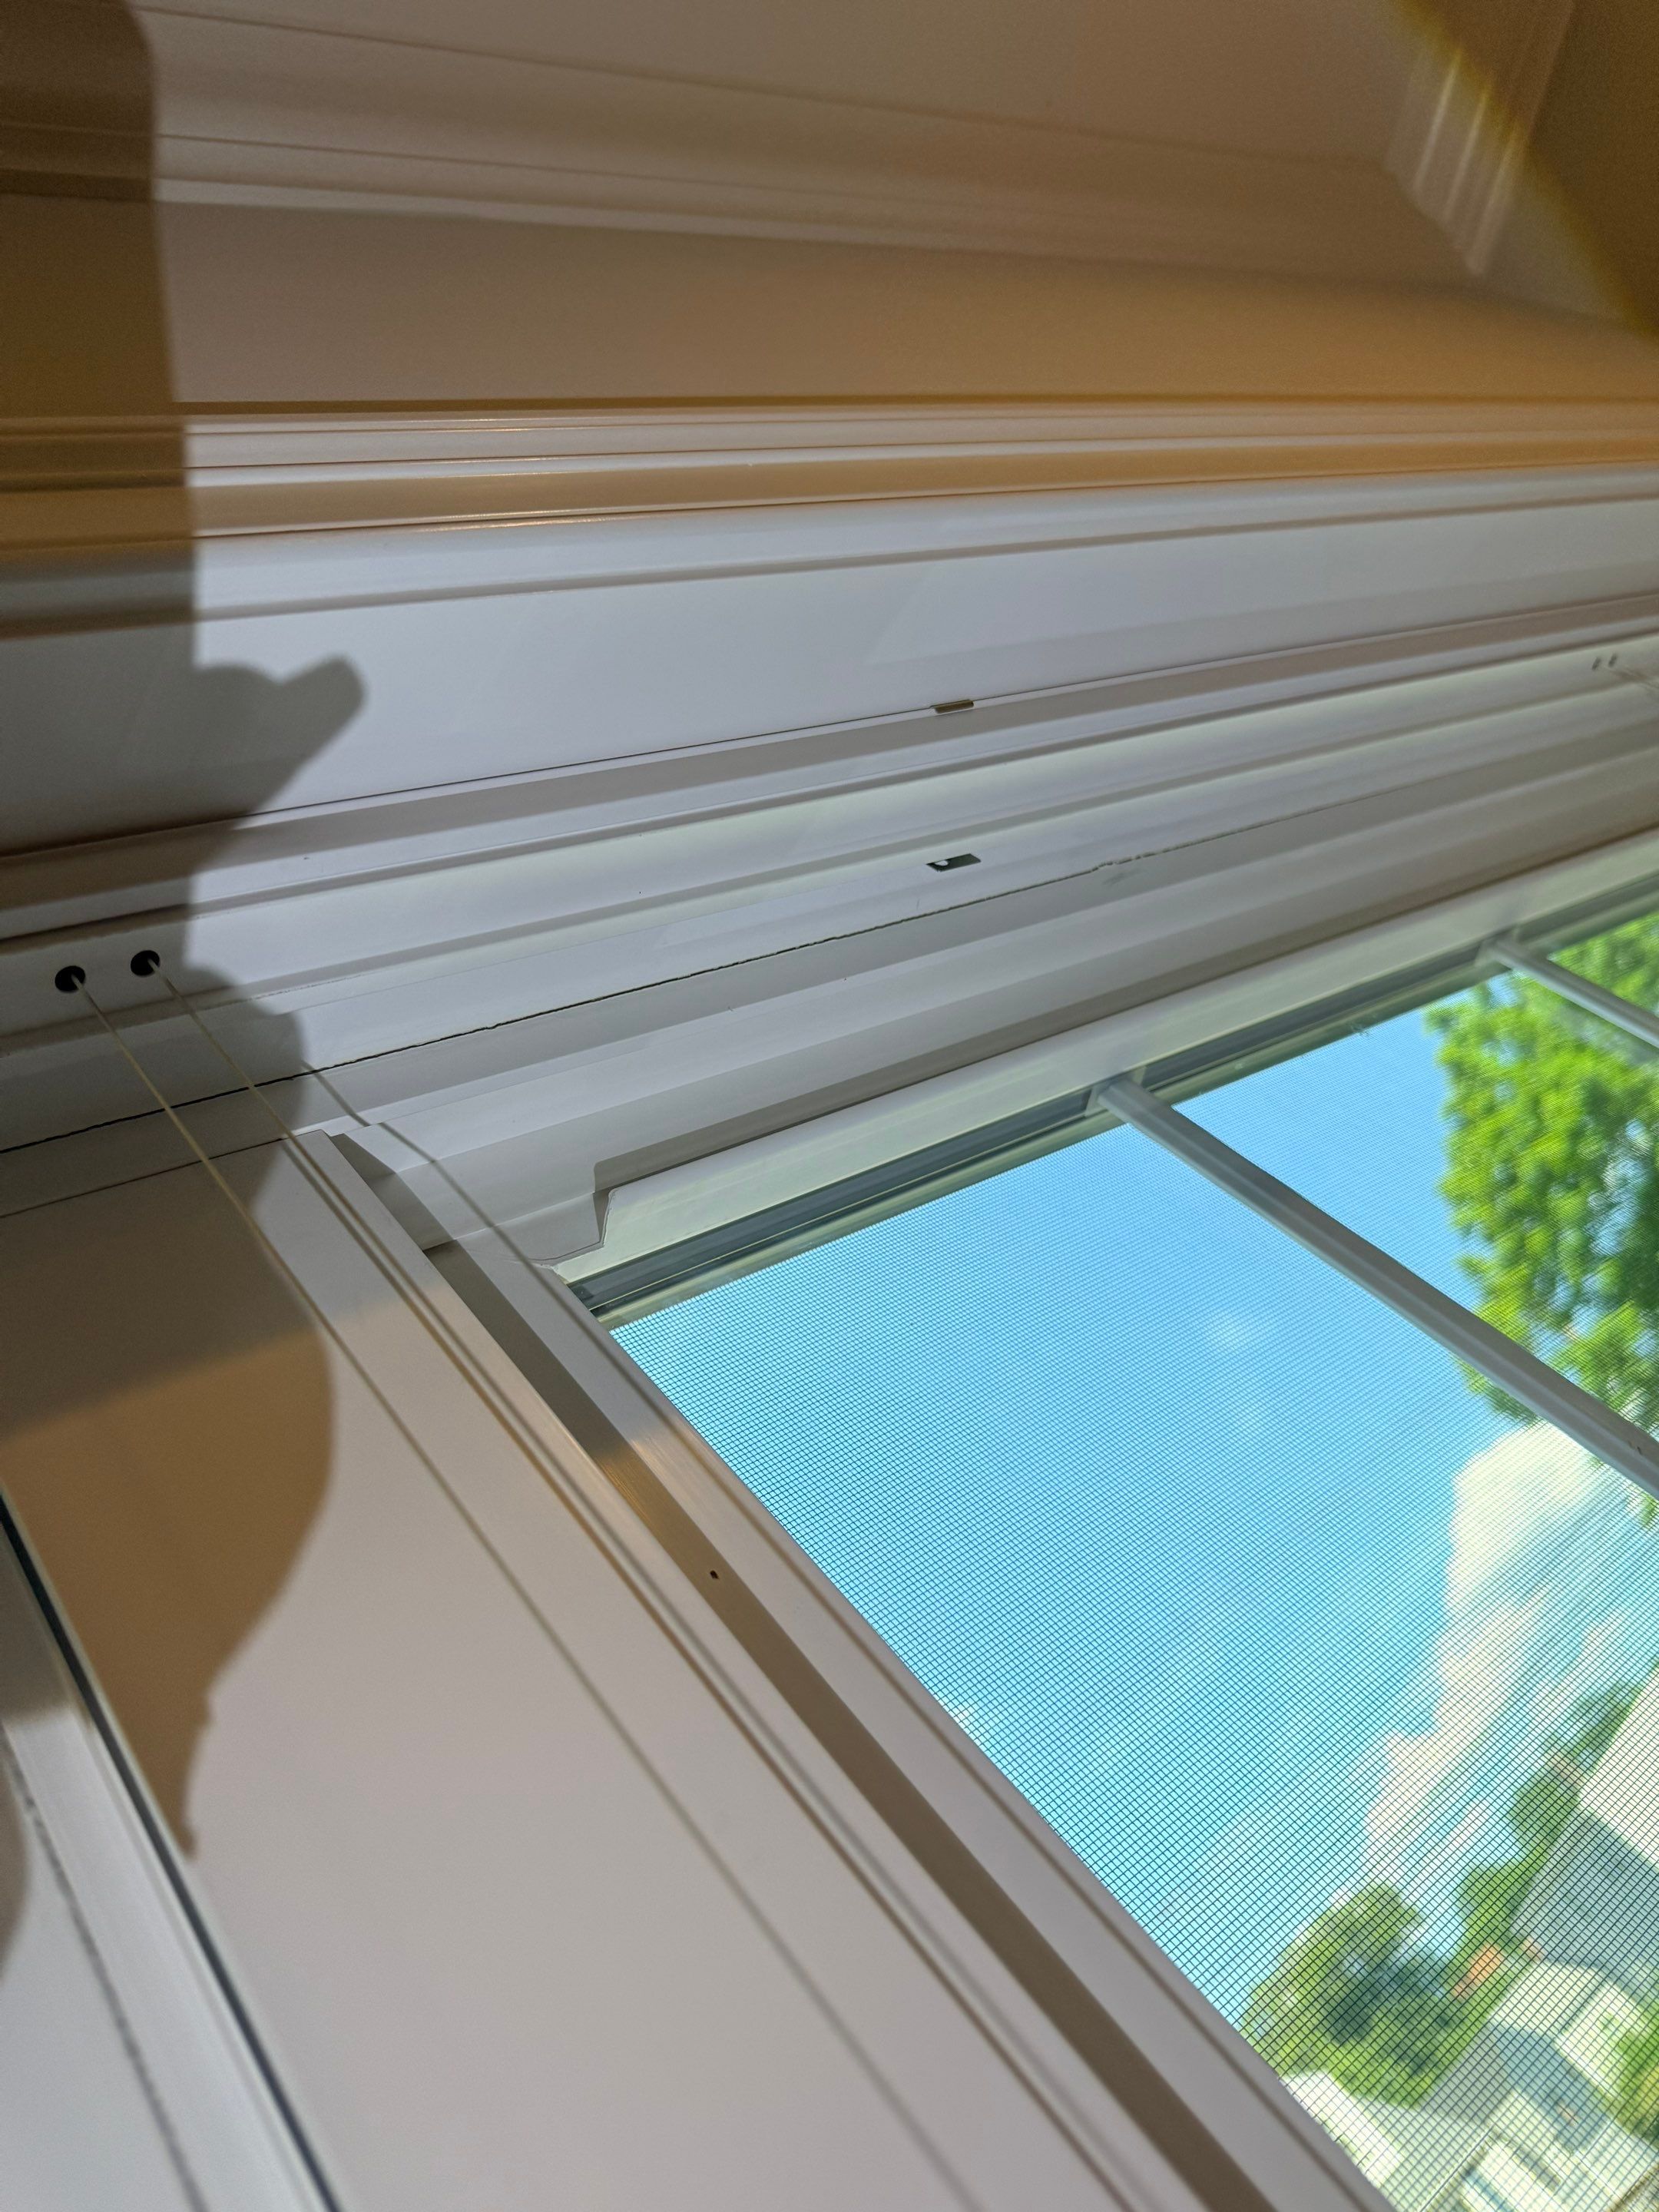
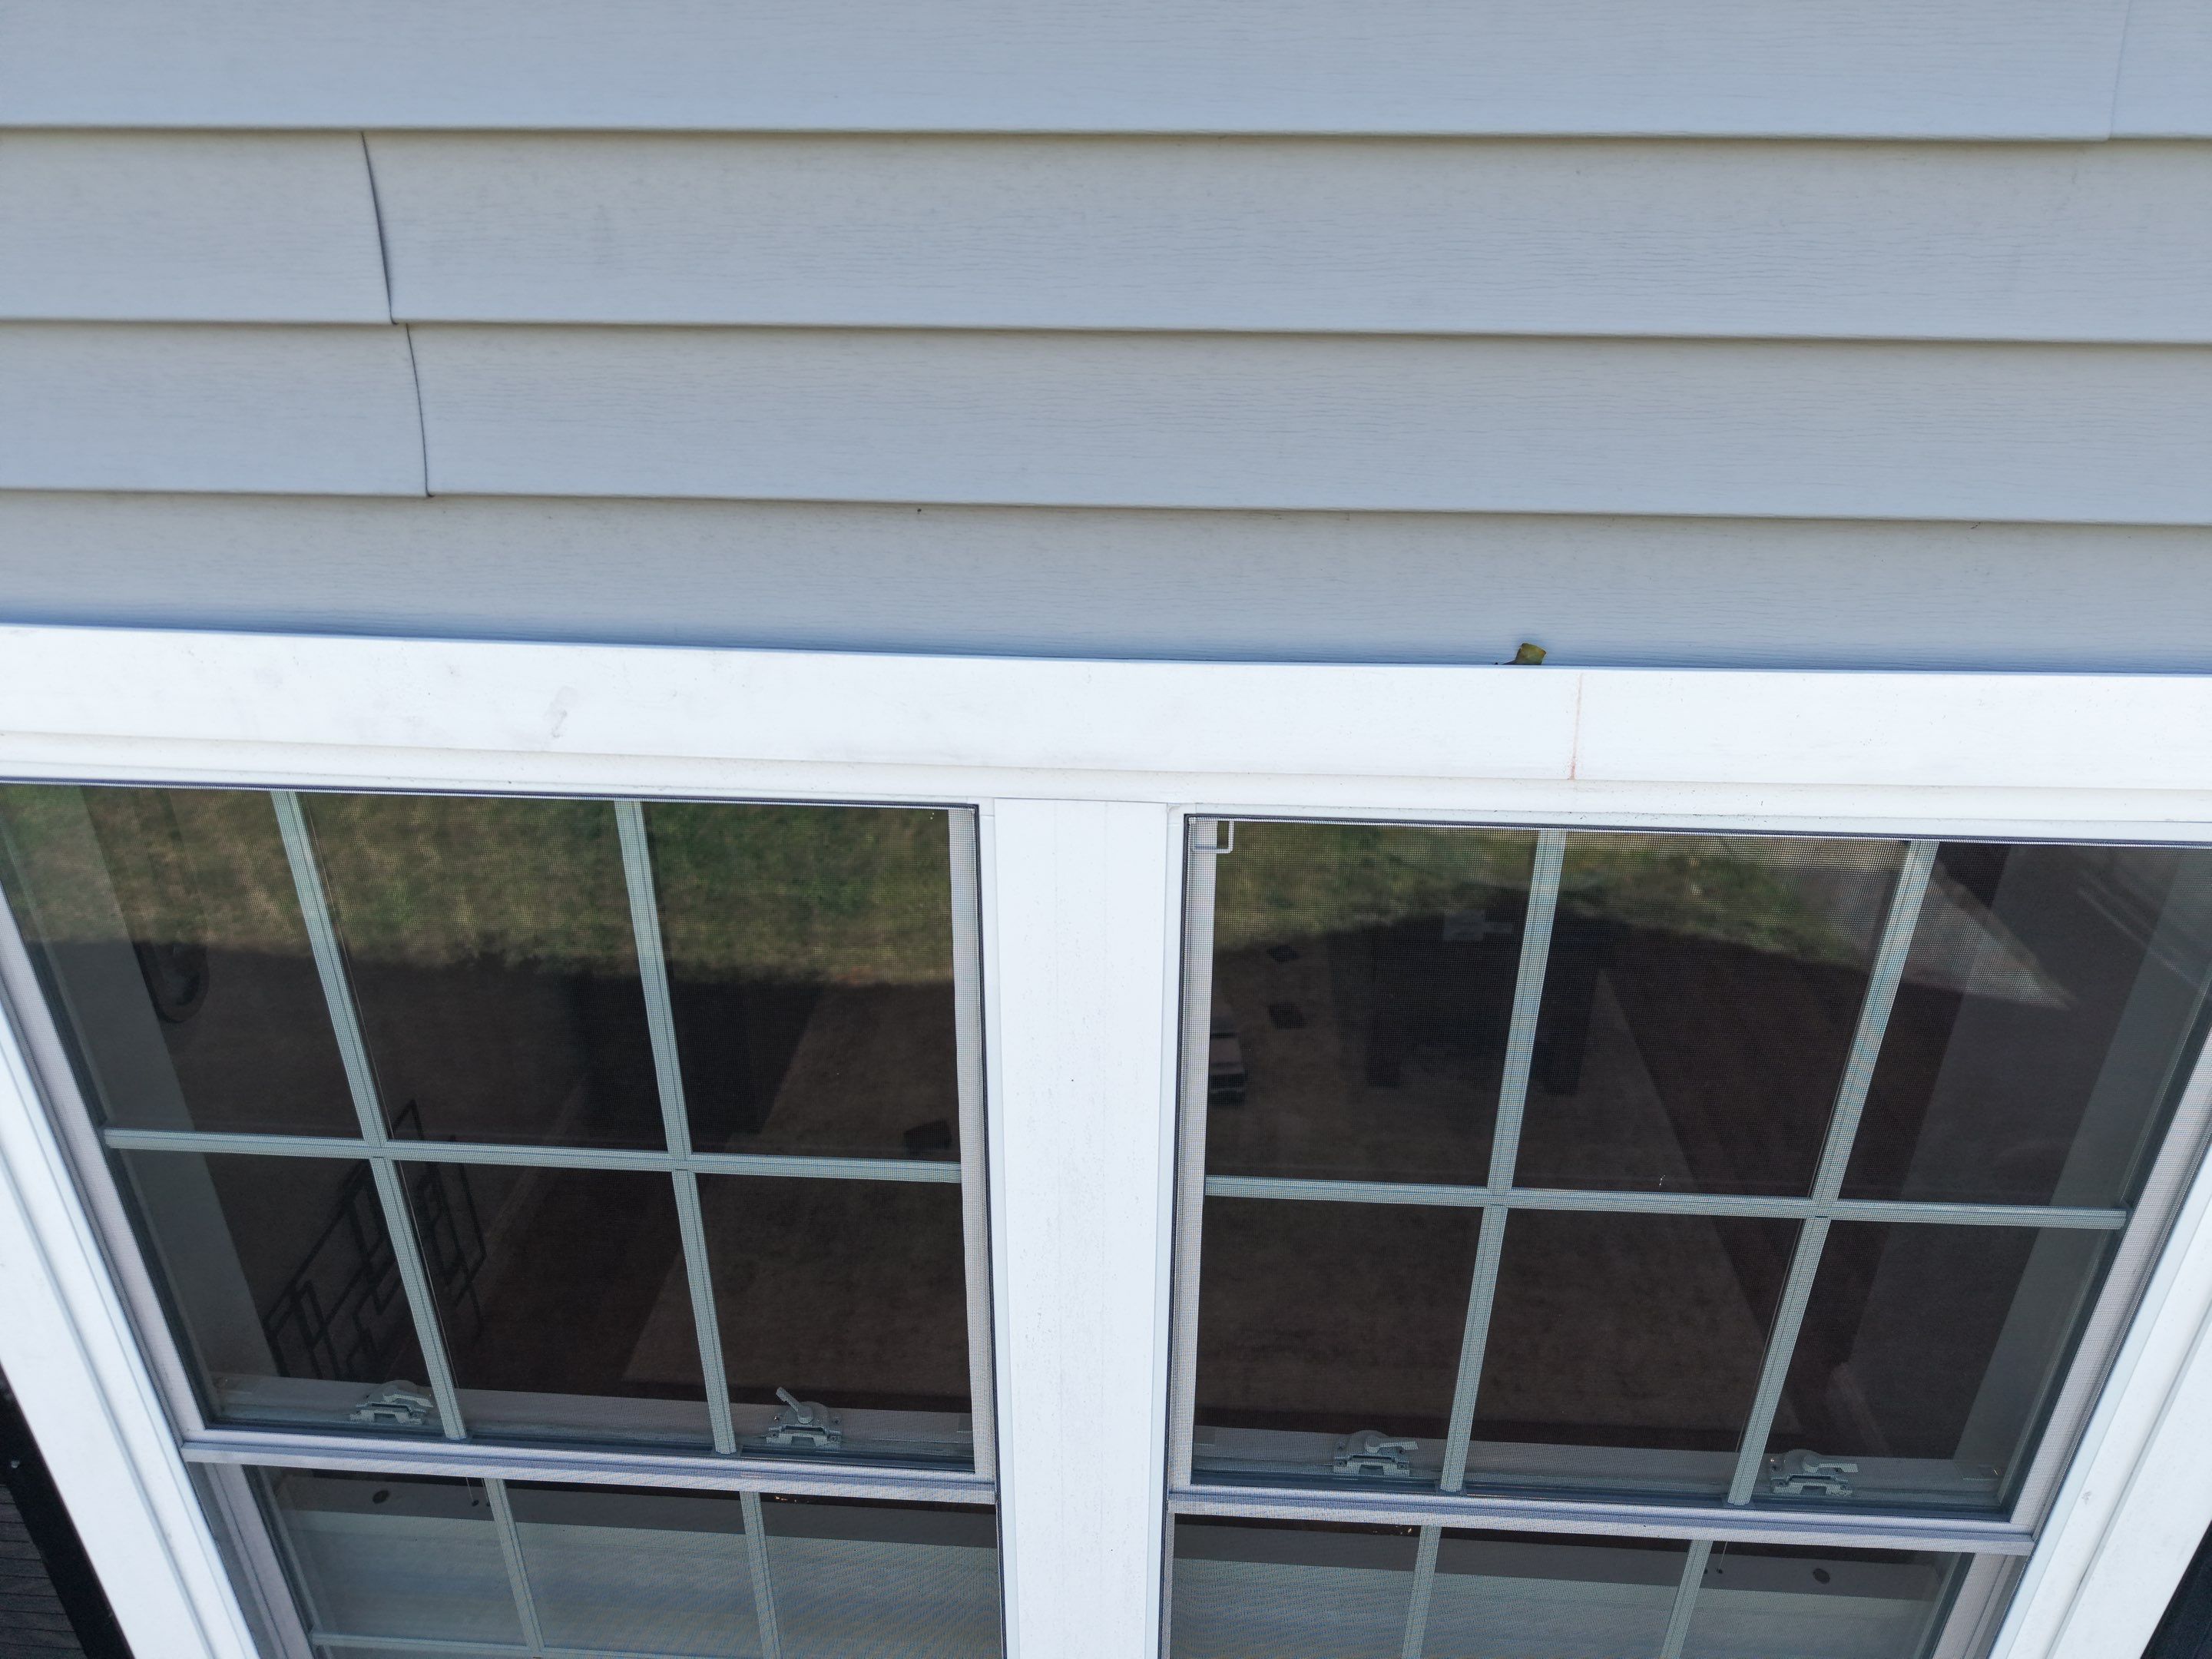
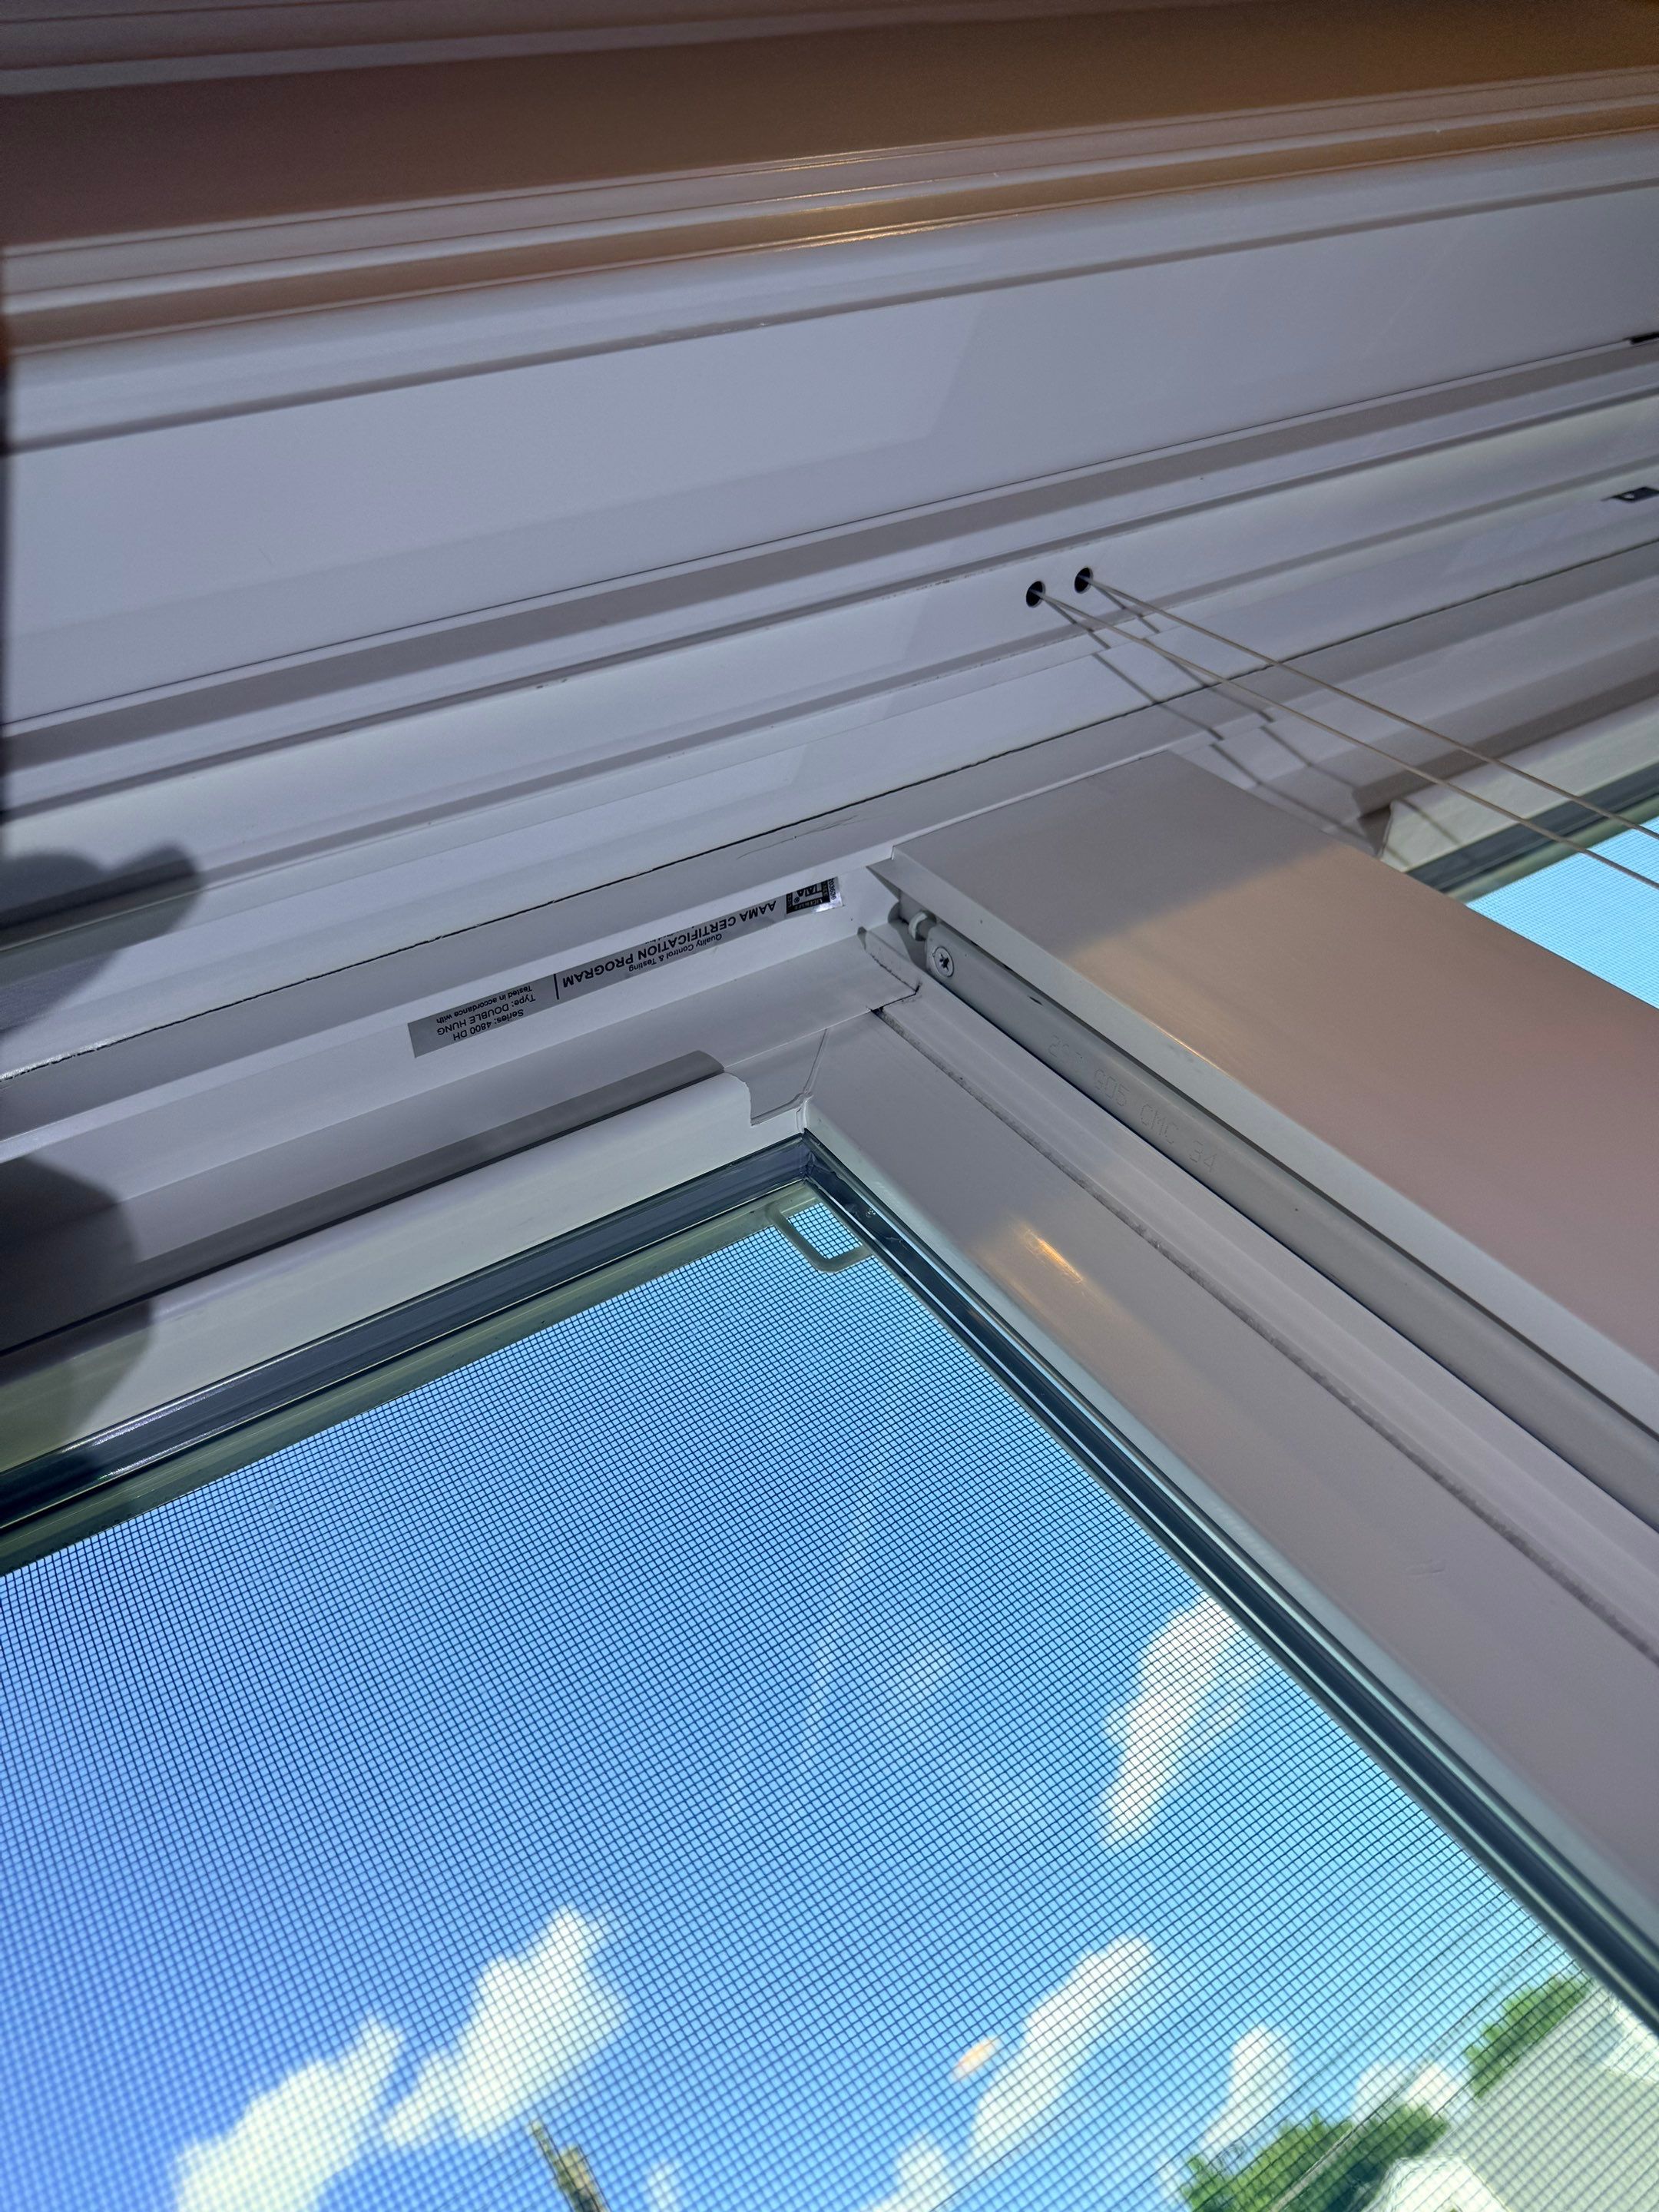
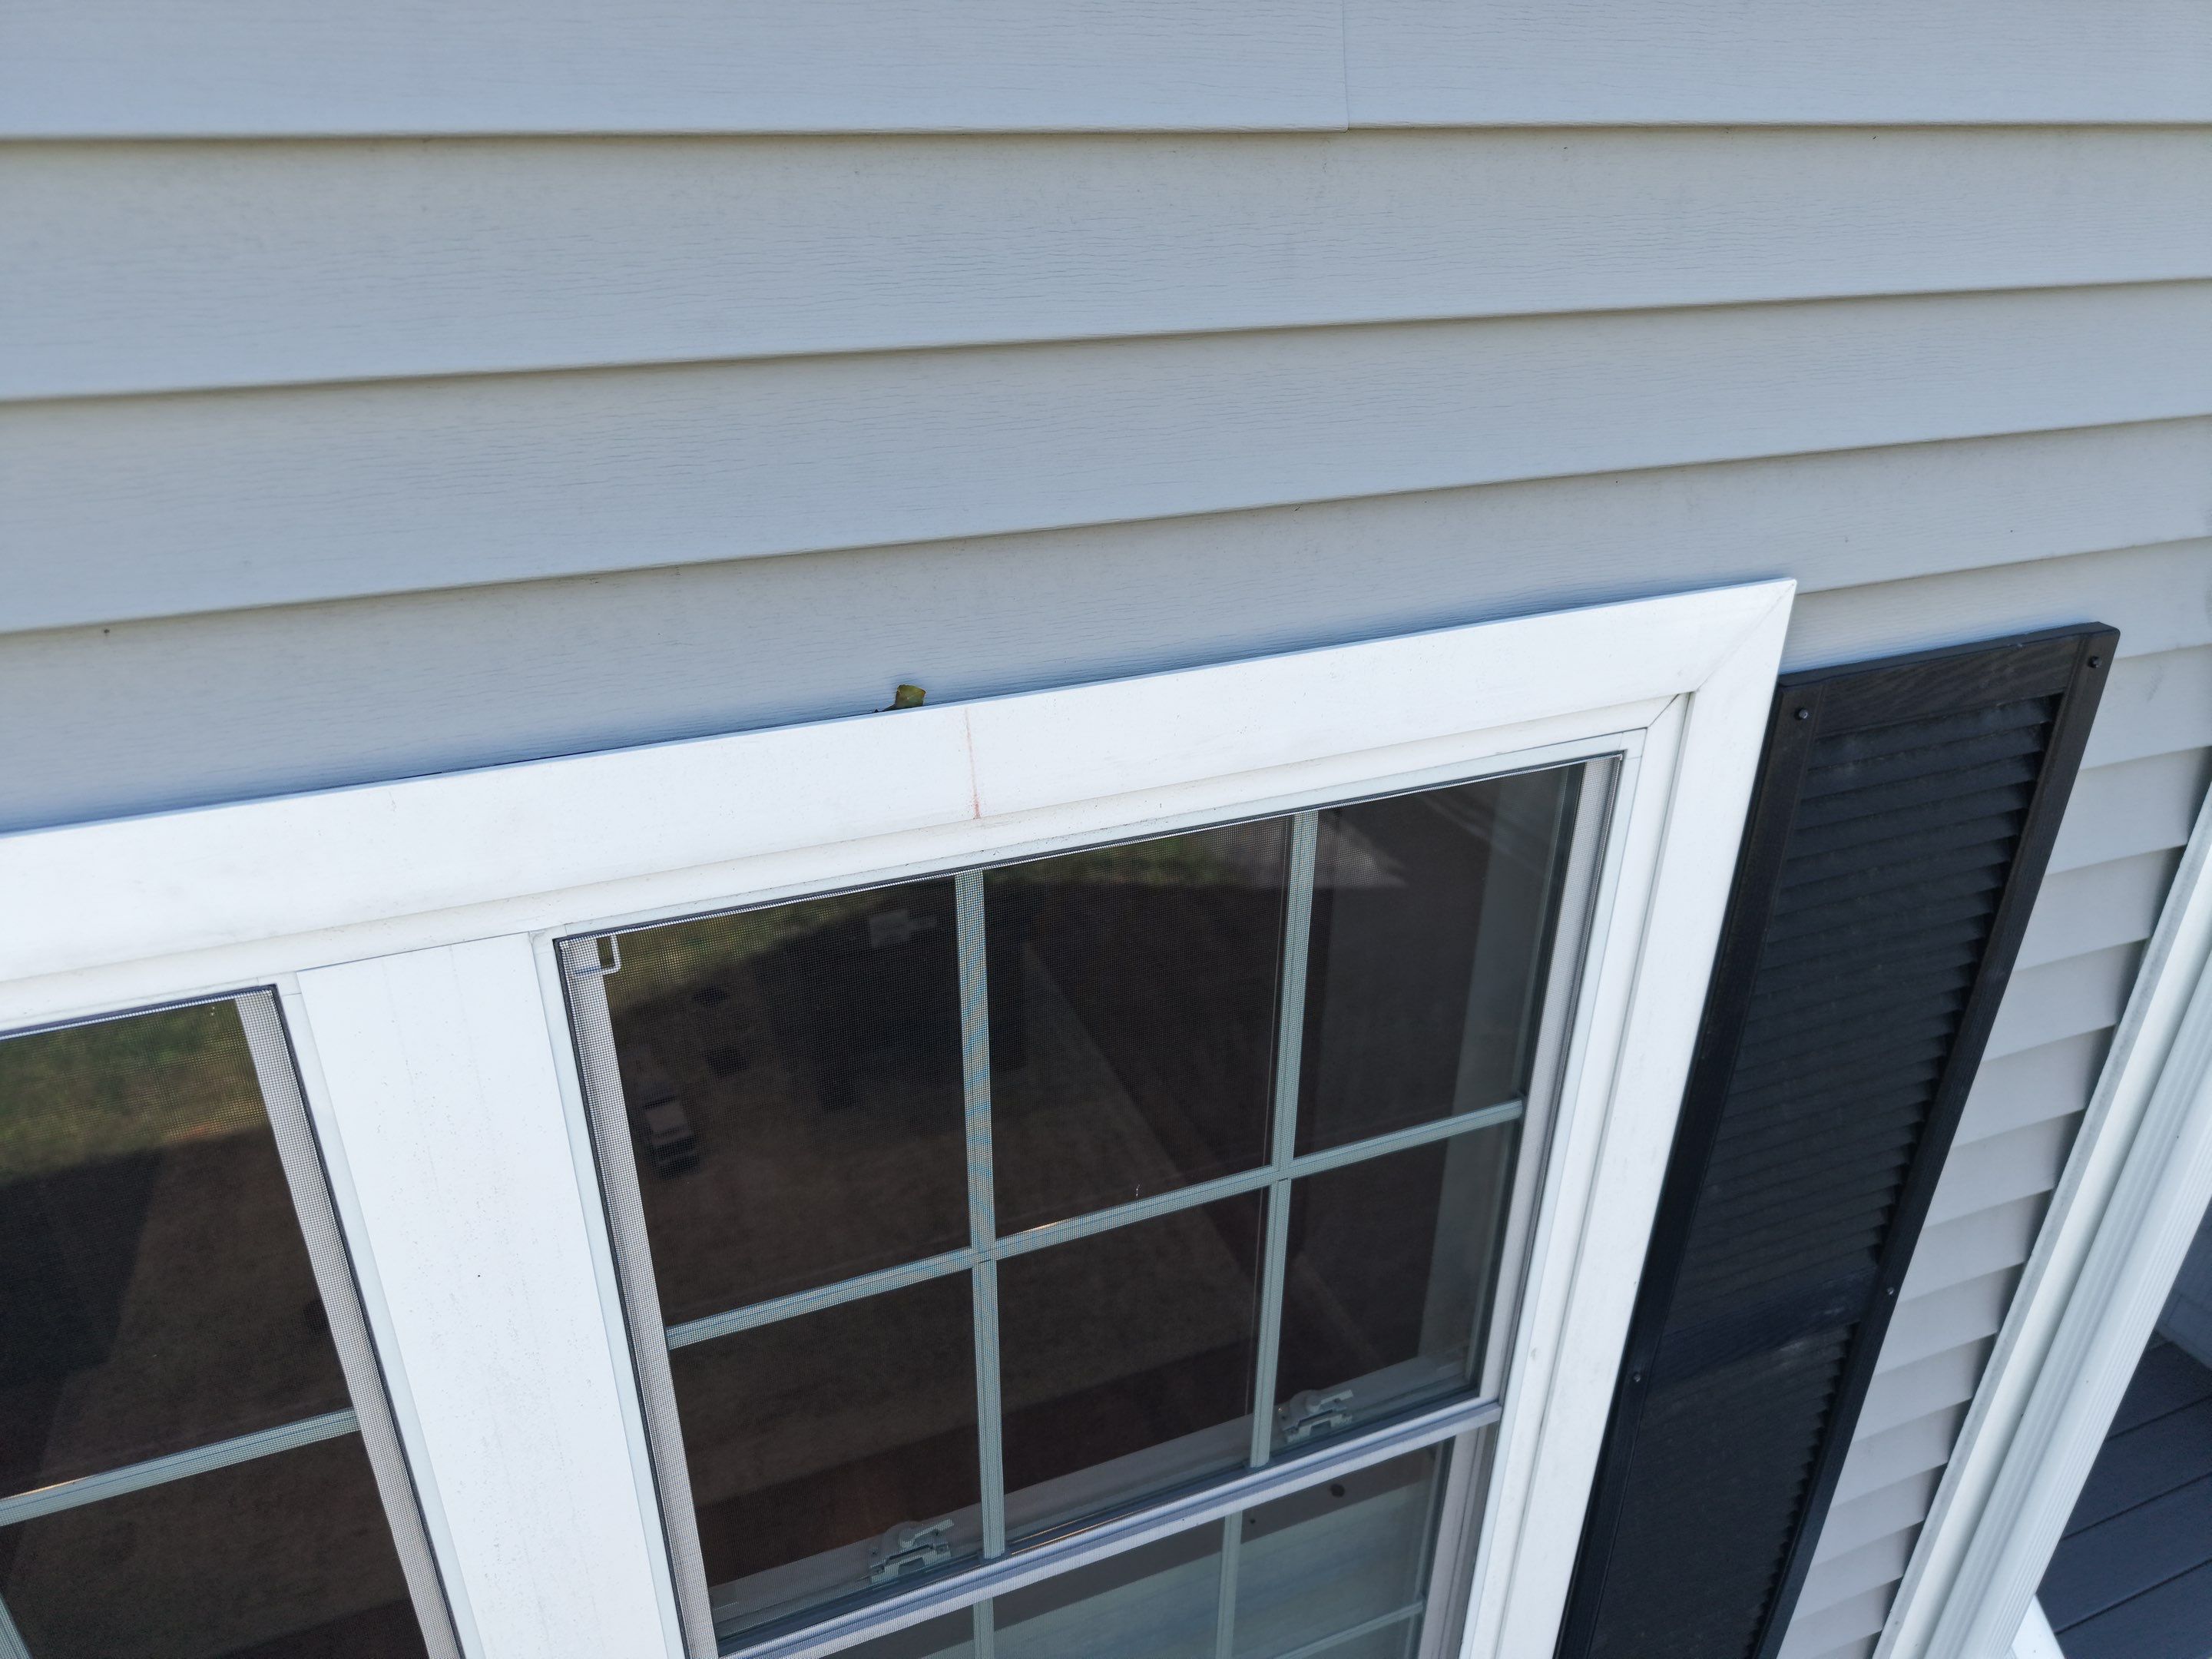
Why the Upper Flashing Detail Mattered
Window flashing is designed to move water away from the opening and back onto the exterior drainage plane. When the upper flashing is damaged, poorly integrated, or no longer shedding water correctly, moisture can travel behind siding and trim before it becomes visible indoors.
For this project, the repair was intentionally limited to the upper side of the designated window. Only the siding, trim, or J-channel needed for access would be removed so the underlying condition could be evaluated without opening more of the wall than necessary.
Open It, Inspect It, Then Repair It
Once the existing roof was removed, the crew discovered three layers of shingles rather than the single visible roofing layer anticipated before construction.
The original board decking also contained large gaps and deteriorated sections. These conditions were concealed beneath the roofing materials and could not be fully confirmed during the exterior inspection.
Installing a new roof directly over that surface would not have provided the stable, reliable base the new roofing system required. The findings were documented with photos, explained to the homeowner, and handled through an approved change order before the additional work moved forward.
Open It, Inspect It, Then Repair It
Once the existing roof was removed, the crew discovered three layers of shingles rather than the single visible roofing layer anticipated before construction.
The original board decking also contained large gaps and deteriorated sections. These conditions were concealed beneath the roofing materials and could not be fully confirmed during the exterior inspection.
Installing a new roof directly over that surface would not have provided the stable, reliable base the new roofing system required. The findings were documented with photos, explained to the homeowner, and handled through an approved change order before the additional work moved forward.
Rebuilding the Water-Shedding Detail
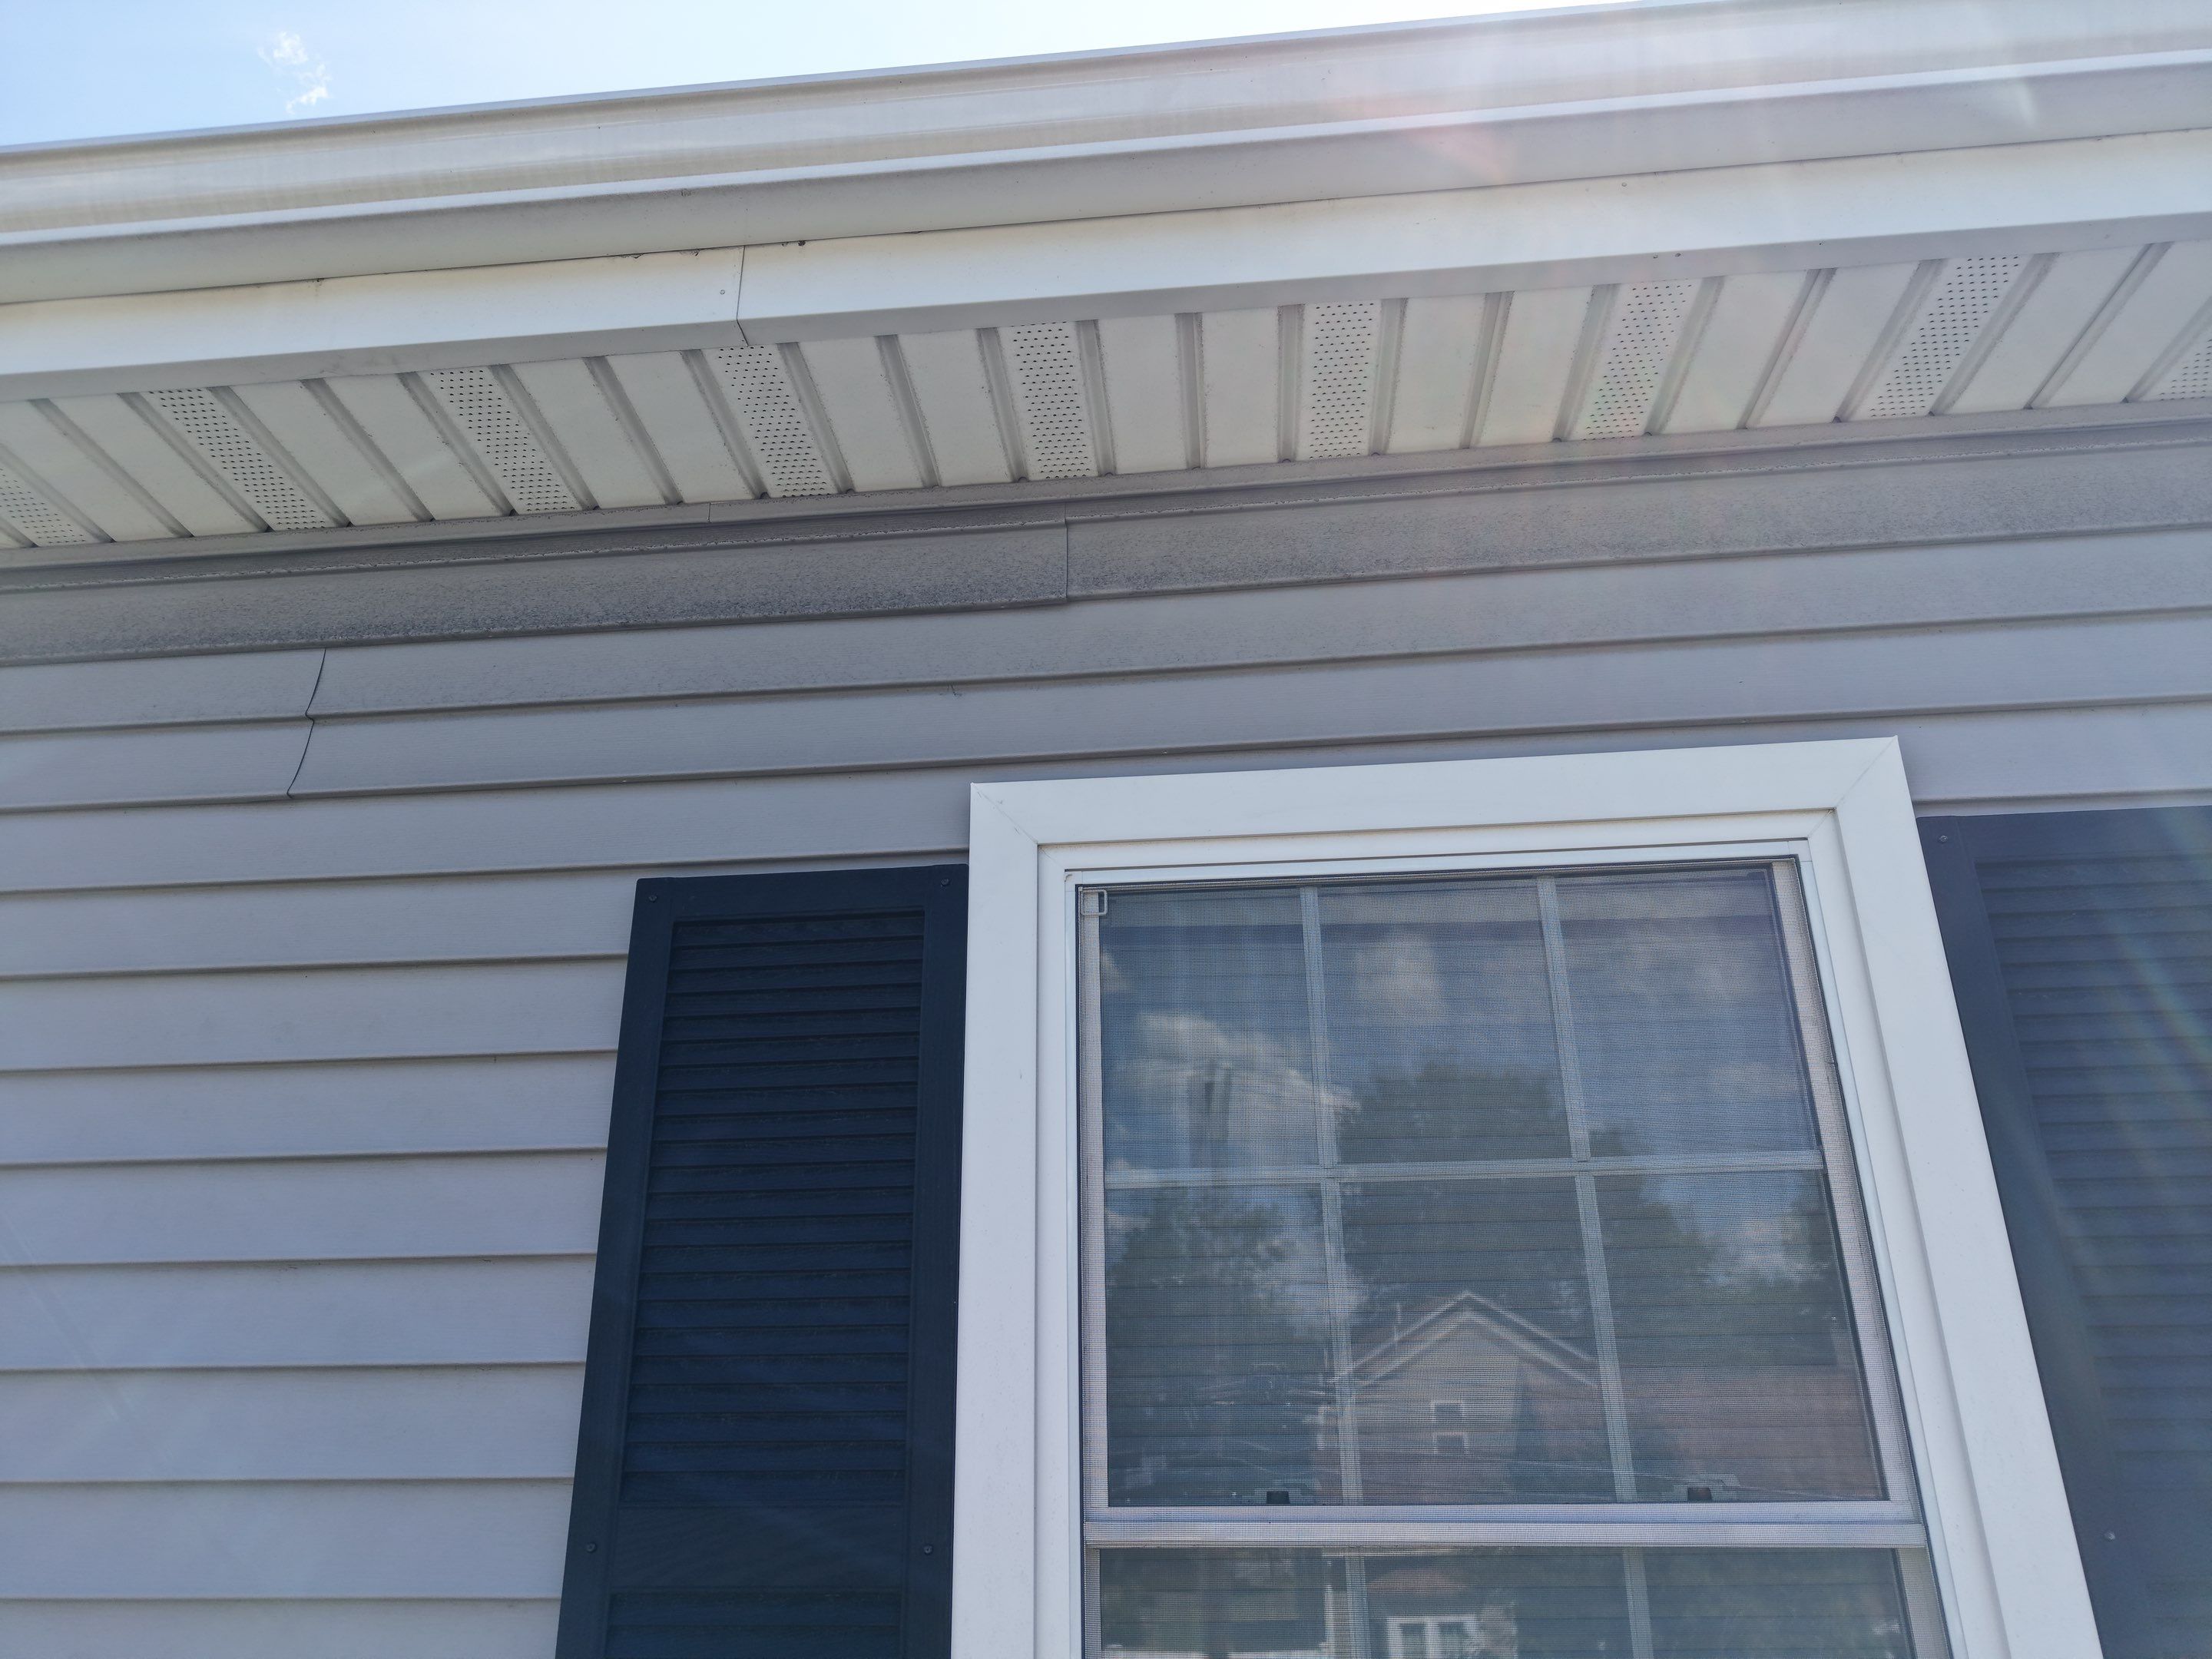
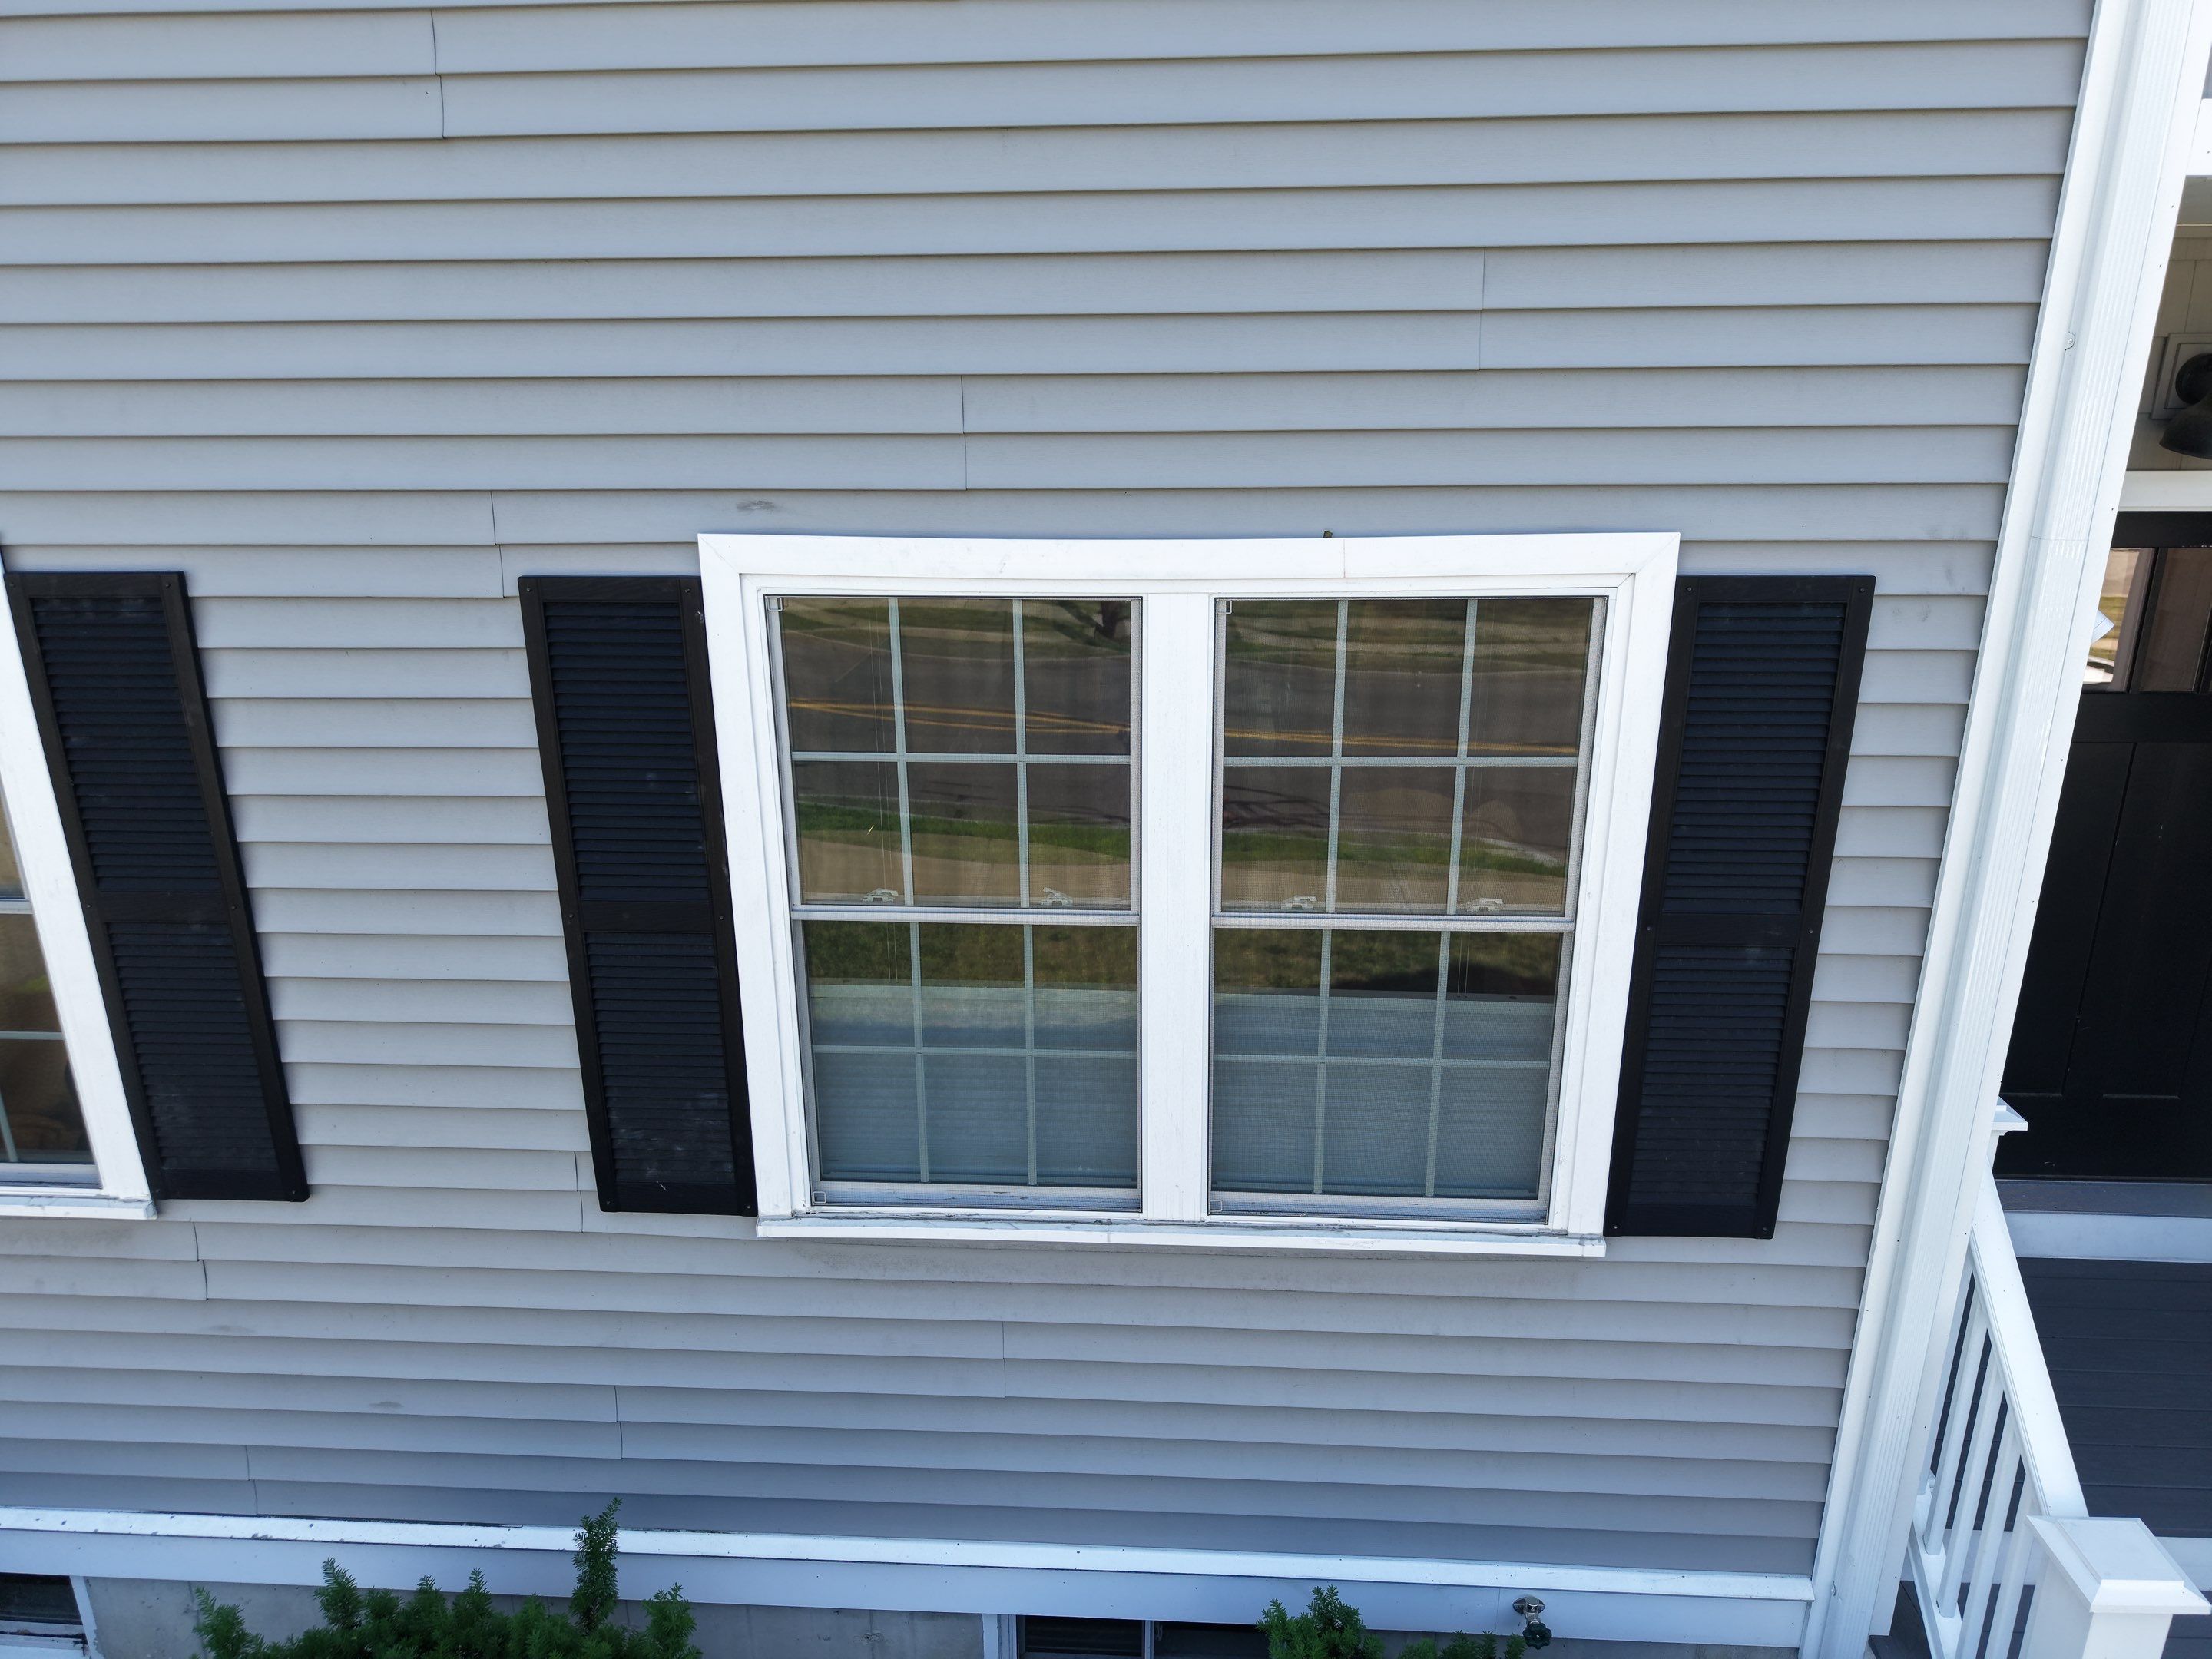
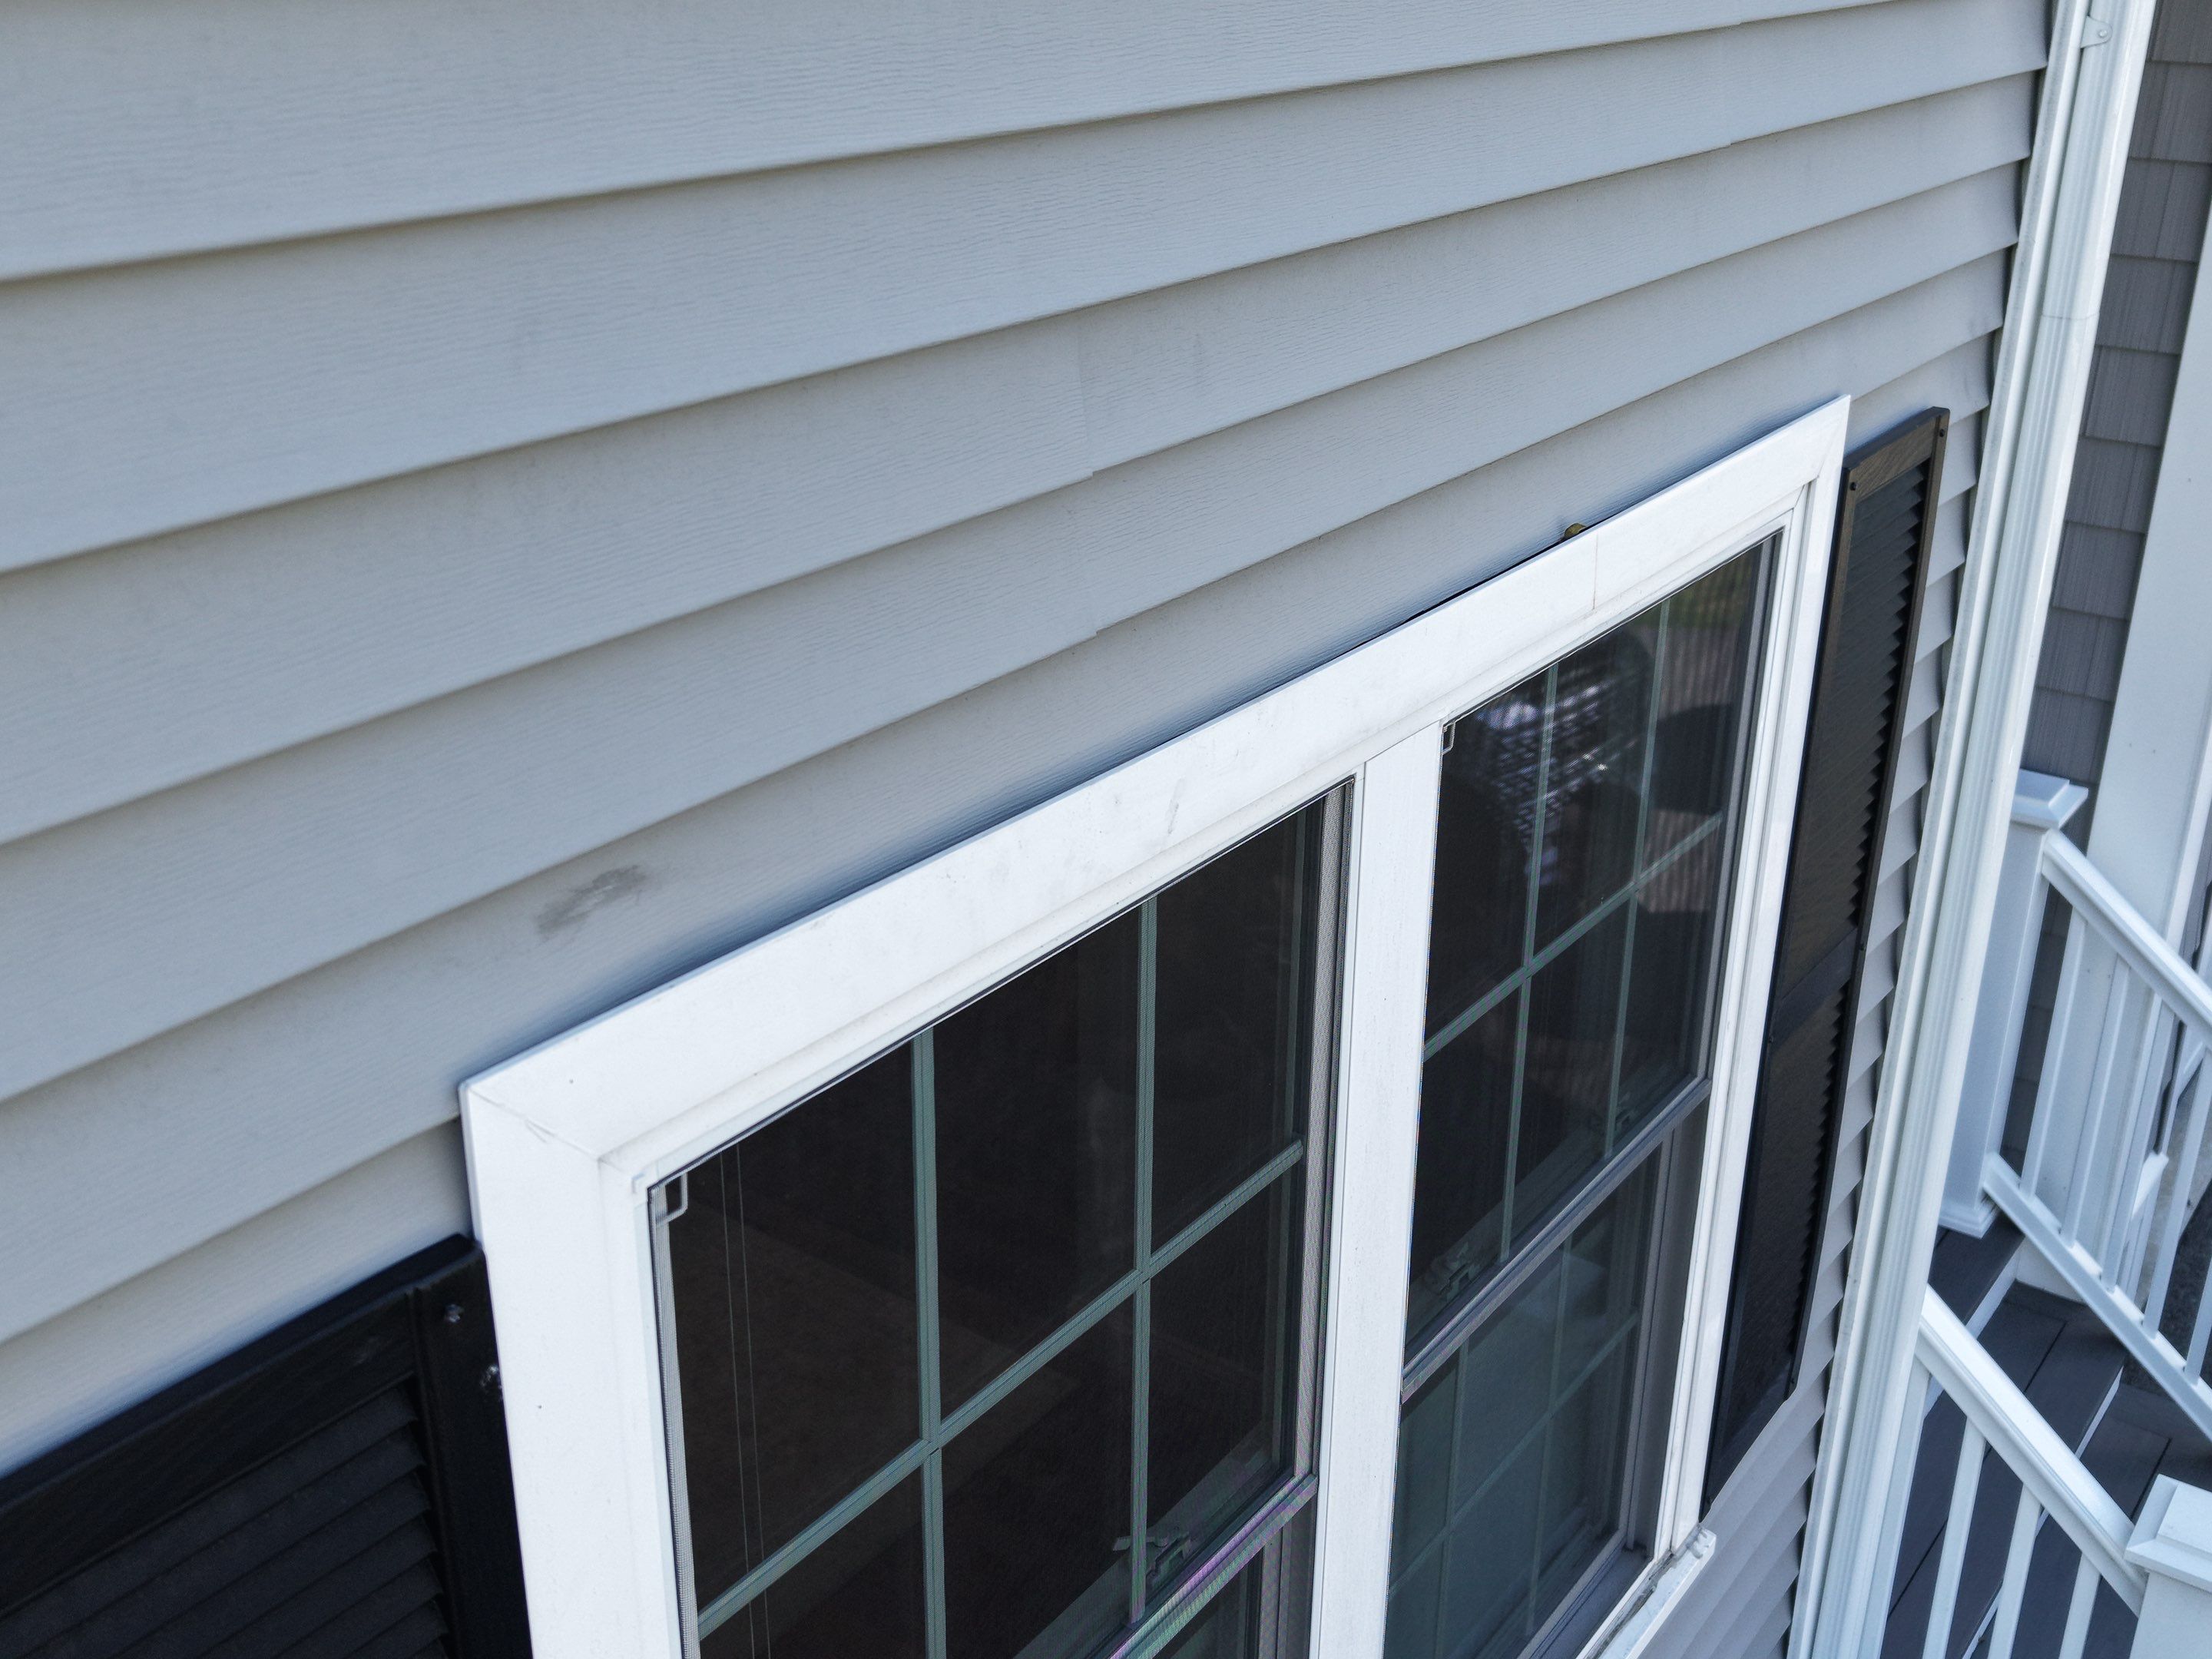
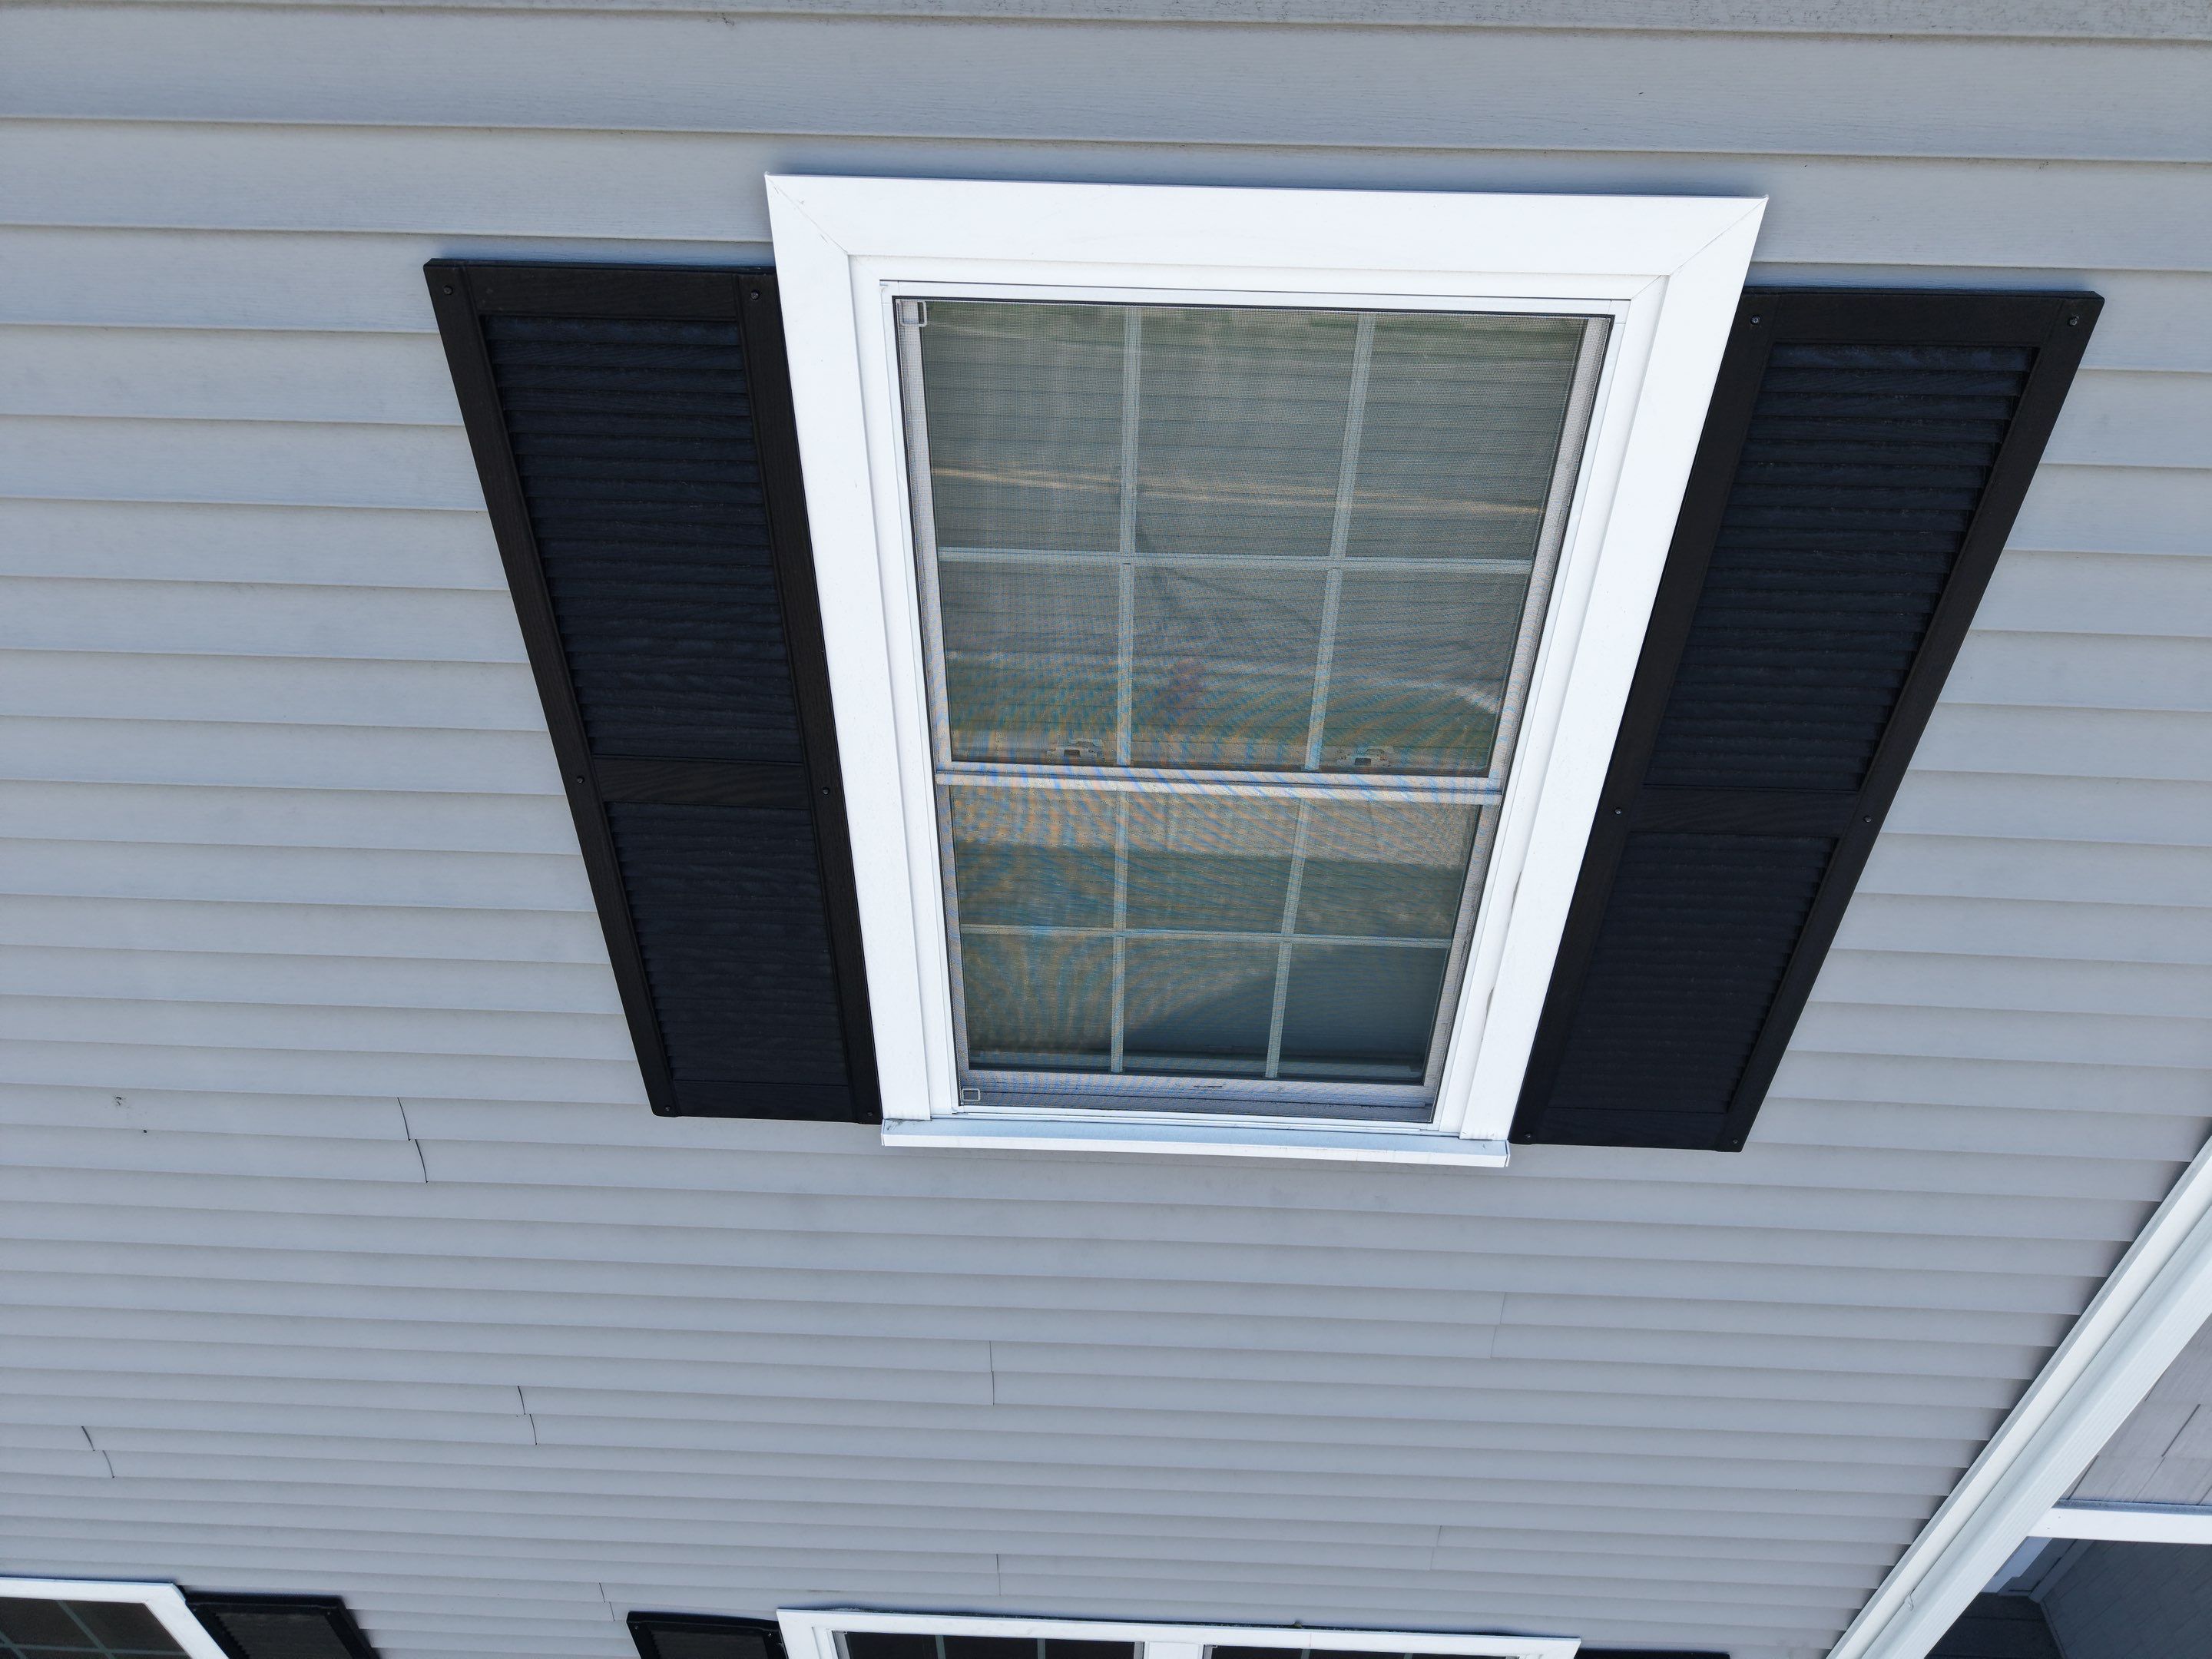
The repair focuses on installing new upper window flashing and tying it into the existing weather-resistive barrier and siding details so water is directed away from the opening.
After the flashing is secured, the removed exterior components are reset, compatible exterior-grade sealant is applied at the appropriate joints and terminations, and the laps are checked for proper drainage.
The goal is not to simply cover the visible leak point. It is to restore the exterior detail that is supposed to manage water before it reaches the window opening.
Rebuilding the Water-Shedding Detail
The repair focuses on installing new upper window flashing and tying it into the existing weather-resistive barrier and siding details so water is directed away from the opening.
After the flashing is secured, the removed exterior components are reset, compatible exterior-grade sealant is applied at the appropriate joints and terminations, and the laps are checked for proper drainage.
The goal is not to simply cover the visible leak point. It is to restore the exterior detail that is supposed to manage water before it reaches the window opening.

A Small Repair With a Specific Purpose
This was not a siding replacement project and it did not require opening the entire wall. The work was focused on one vulnerable window detail where the symptoms and exterior conditions pointed to a localized water-management problem.
That is the value of a focused inspection: identify what needs attention, avoid expanding the scope without evidence, and repair the detail that is actually responsible for keeping water out.
A Small Repair With a Specific Purpose
This was not a siding replacement project and it did not require opening the entire wall. The work was focused on one vulnerable window detail where the symptoms and exterior conditions pointed to a localized water-management problem.
That is the value of a focused inspection: identify what needs attention, avoid expanding the scope without evidence, and repair the detail that is actually responsible for keeping water out.

Seeing Water Around a Window After Heavy Rain?
The place where water appears inside is not always the place where it enters. Peak Quality Roofing can inspect the exterior details around windows, siding, roof-to-wall transitions, and flashing to help identify the most practical repair path.
FAQs
Can damaged window flashing cause leaks inside the house?
Yes. If water gets behind the siding or trim above a window, it can travel into the wall assembly and show up around the window opening indoors. The exact entry point should be inspected before the area is simply caulked.
Why do you sometimes need to remove siding to repair window flashing?
Flashing works behind the finished exterior materials. Removing only the siding, trim, or J-channel needed for access allows the installer to inspect the window head and integrate new flashing with the existing weather-resistive barrier instead of relying on surface sealant alone.
What happens if hidden water damage is found behind the siding?
The exposed area should be documented and the homeowner should be notified before additional work is performed. Repairs beyond the original localized scope can then be reviewed and approved based on what is actually found.
Is exterior caulk enough to stop a window leak?
Sometimes sealant is part of the finished detail, but it should not replace properly integrated flashing. If water is entering behind the siding or trim, the underlying drainage and flashing detail may need to be corrected.
Do you provide window flashing and siding repairs in Stoneham, MA?
Yes. Peak Quality Roofing provides exterior repair services in Stoneham, including localized flashing, siding, trim, and water-intrusion repairs. The first step is an inspection to determine which exterior detail is allowing water in.

CUSTOMER CARE
OFFICE LOCATION
58 Mount Vernon Ave, Melrose, MA 02176

FOLLOW US ON




Copyright 2025. All rights reserved.
Website by Pure Value Advisors

We provide honest roof inspections and clear reports so you can make confident decisions about your home.
OUR SERVICES
Gutter
Skylight
Snow & Ice Removal
SERVICE LOCATIONS
OFFICE LOCATION
58 Mount Vernon Ave, Melrose, MA 02176