 7 min Read
Siding
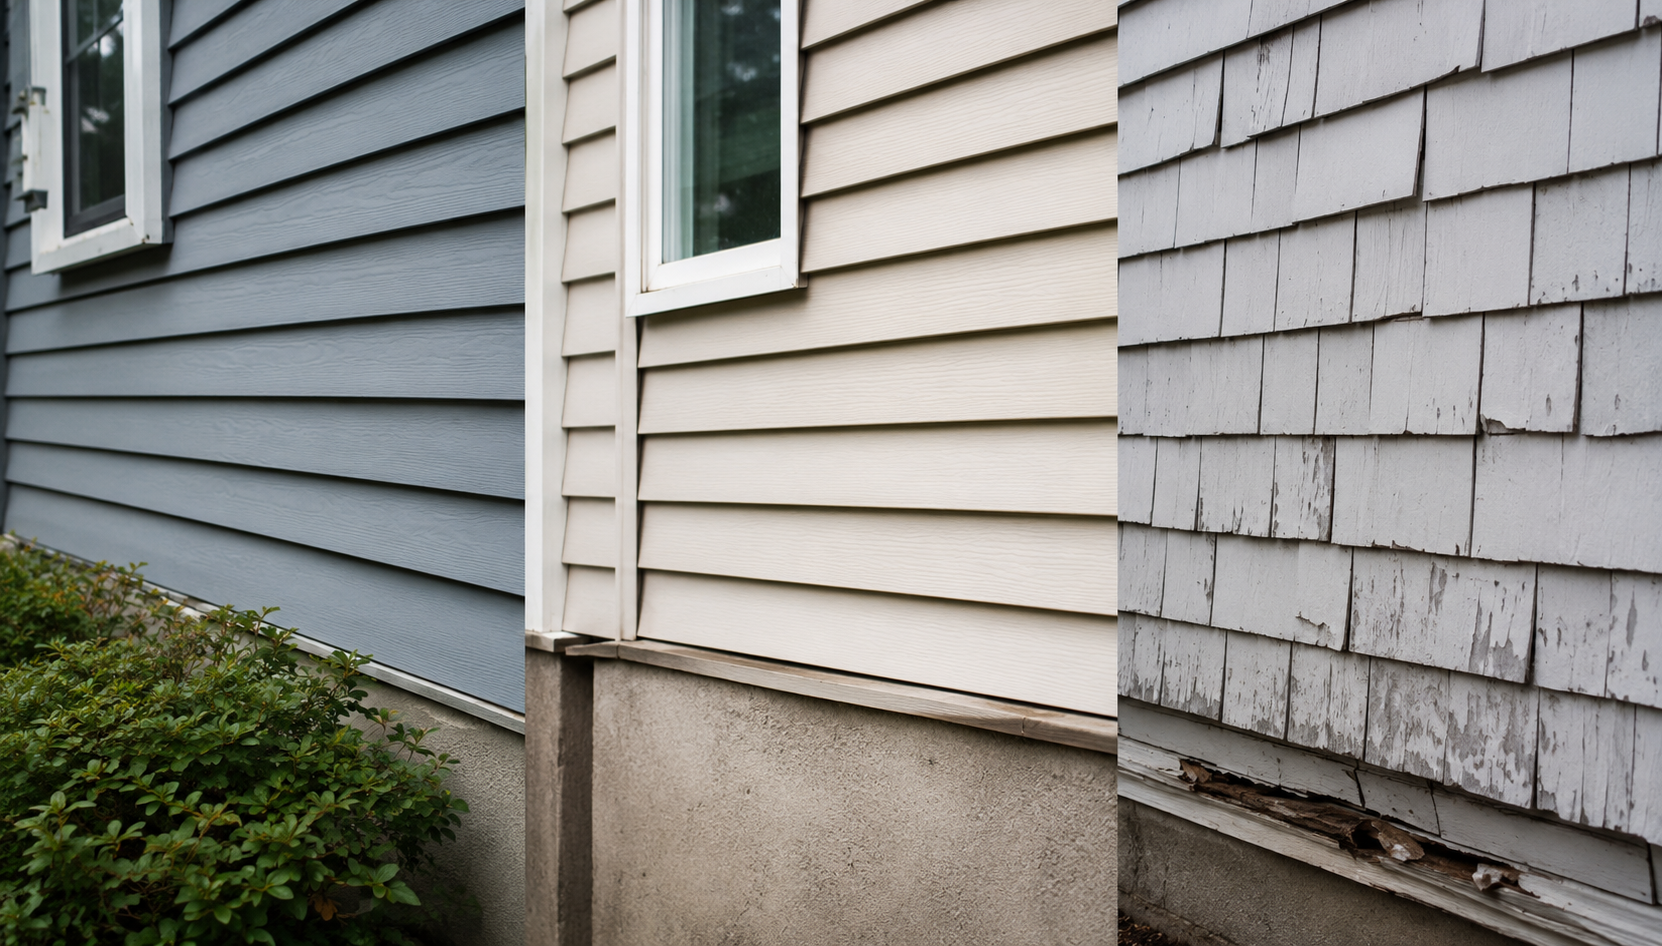
Fiber Cement vs. Vinyl vs. Clapboard Siding
Compare common siding options for Massachusetts homes, including durability, maintenance, and long-term value.

Articles
6min Read
A full roof replacement can feel like a black box if you've never gone through one - you know a crew shows up, and a few days later you have a new roof, but what actually happens in between?
At Peak Quality Roofing, every project follows the same structured process, whether it's a straightforward asphalt shingle job in Melrose or a more involved replacement with chimney and flashing work in Wakefield. This guide walks through each stage in order, so you know exactly what to expect before a crew ever sets foot on your roof.
Homeowners researching a roof replacement tend to focus on shingles, cost per square, and material brand names. Those things matter, but they're only part of the story.
A roof is a system, not just a surface. Decking, ventilation, flashing at every penetration, ice and water shield along the eaves, and proper underlayment all work together. A crew that skips steps or rushes the process can install a good shingle over a flawed foundation and still end up with leaks a few years later.
That's why our process starts well before any tear-off with a documented inspection that determines exactly what your roof needs, not just what it looks like it needs from the ground.

Every project starts with a no-pressure consultation. We walk the property, ask about any issues you've noticed leaks, drafts, granules in the gutters and get a sense of your goals and timeline.
From there, our team performs a full Roof Health Report inspection, documenting the roof's condition with photos at every flashing point, penetration, and problem area. This is the same inspection process we use for homeowners dealing with chimney flashing leaks, storm damage, or the kind of hidden issues we found during a roof inspection in Wakefield that revealed cupola deterioration that wasn't visible from the ground.
If you're curious what that inspection actually involves step by step, we've broken it down separately in What Happens During a Professional Roof Inspection?

Once the inspection is complete, we walk you through exactly what we found, using photos rather than vague descriptions. Depending on the roof's condition, our recommendation falls into one of four categories: targeted repair, proactive maintenance, monitor and revisit later, or full replacement.
We only recommend replacement when it's genuinely the most practical long-term solution not the default answer. If your roof shows signs it's nearing the end of its life, has needed repeated repairs that are no longer worth it, or has leaks that only show up during heavy rain and keep coming back, replacement is usually the more cost-effective path. If you're still weighing the two options, our repair vs. replacement checklist and the broader question of whether to repair or replace are good starting points. This is also the stage where we flag common problem patterns we see across Melrose, Malden, Wakefield, and surrounding areas.

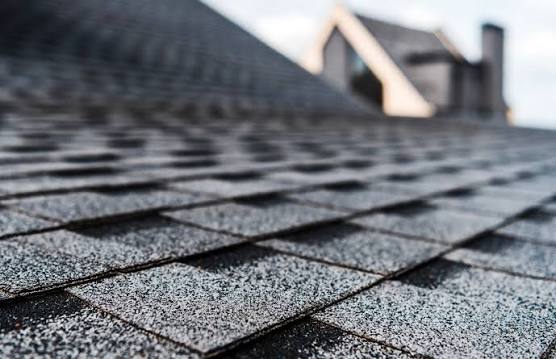
If replacement is the right call, the next decision is material. Most homes in our service area go with asphalt shingles, which balance cost, durability, and appearance well in Massachusetts' freeze-thaw climate.
Some homeowners opt for metal roofing for its 40–60 year lifespan and strong snow-load performance, while additions, porches, and low-slope sections are typically better suited to flat roofing systems like EPDM or TPO. Multi-family and business owners generally fall under our commercial roofing scope, which is priced and specified differently than a residential job.
If your project involves rooftop solar, it's worth reading what Massachusetts homeowners should know about replacing a roof with solar panels before committing to a material, since panel removal and reinstallation adds a step to the sequence as it did on a project where decking damage was discovered behind existing solar panels.
Once material and scope are settled, we put together a detailed estimate that lays out the full cost breakdown of material, labor, permits, disposal, and any decking or flashing work identified during the inspection.
We don't do phone quotes for full replacements, because pricing a roof accurately requires knowing its actual pitch, penetrations, and decking condition. If you want a sense of what your project might run before that estimate arrives, our Massachusetts roof replacement cost guide breaks down 2026 pricing by material, home type, and the Massachusetts-specific cost factors like required ice and water shield and local permitting that affect every estimate we write.

A full roof replacement is a significant investment, and most homeowners don't pay out of pocket in full. We offer straightforward billing along with flexible financing options designed to make a quality roof accessible without unnecessary financial stress.
We've also put together a dedicated guide to roof replacement financing options for Massachusetts homeowners if you want to understand the available programs, terms, and how to apply before your consultation.
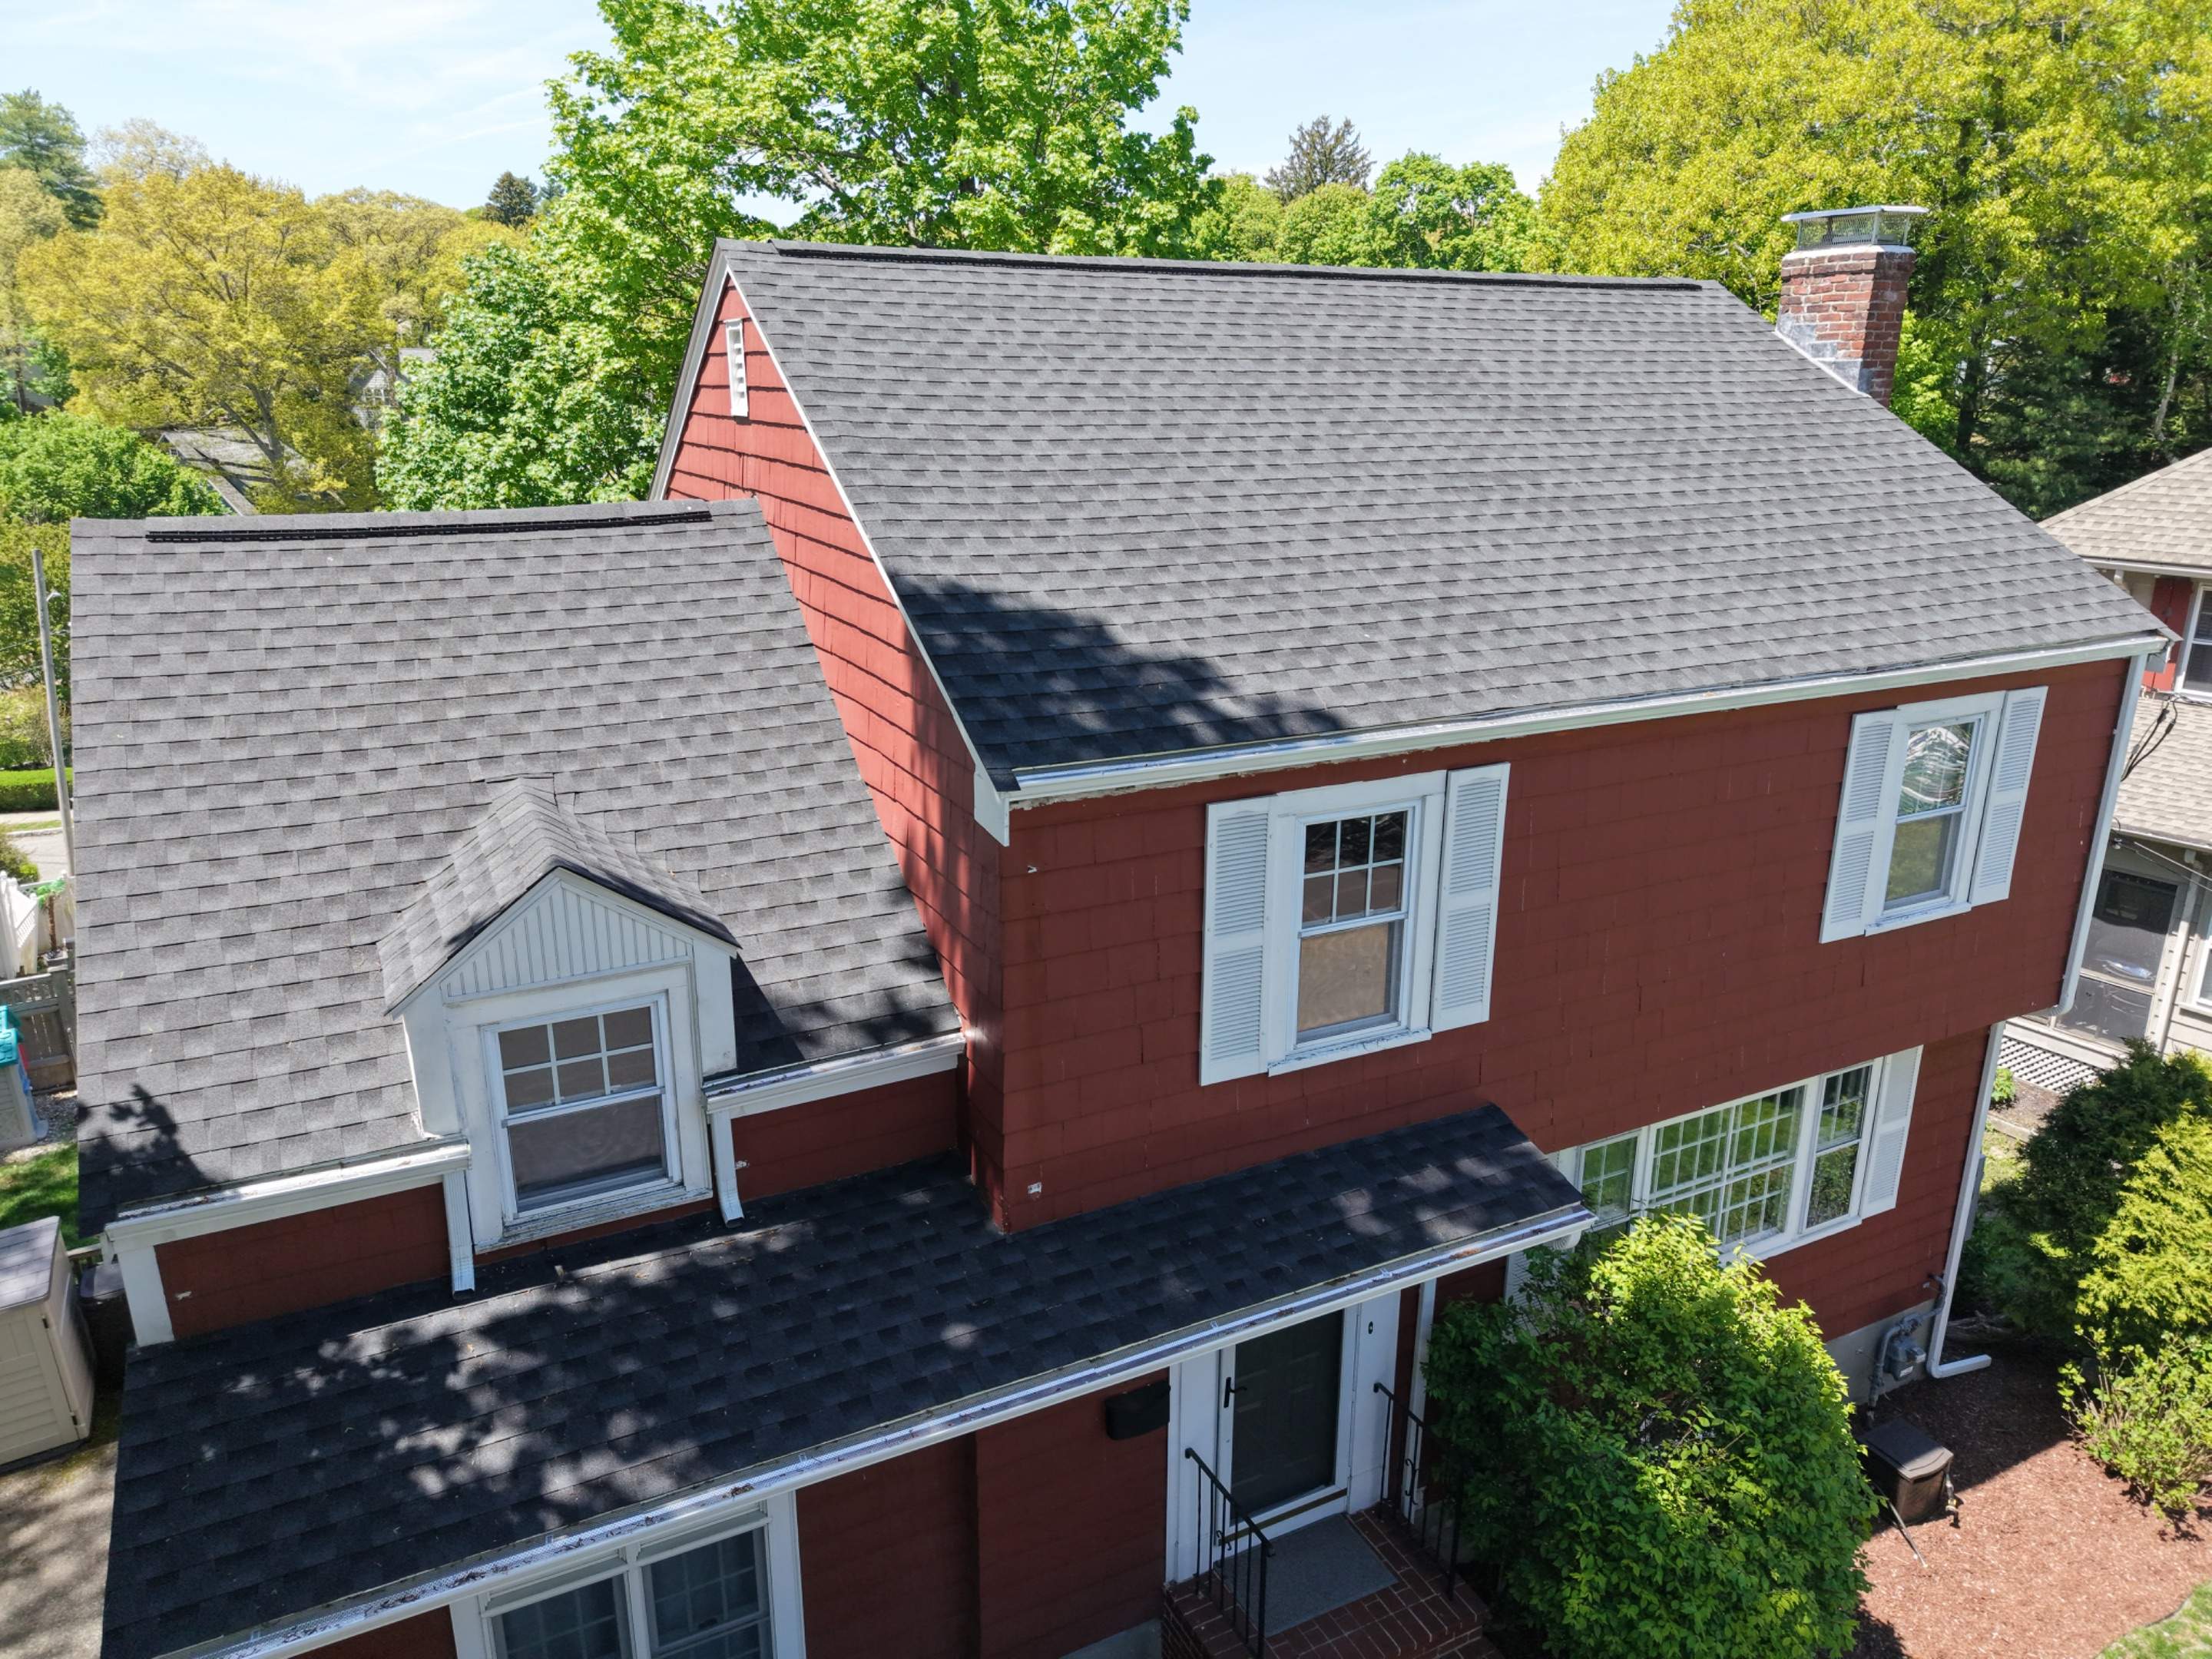
Once installation is complete, the crew does a full site cleanup, magnetic nail sweeps for stray fasteners, debris removal, and a check of landscaping and gutters for any leftover material.
We then walk the property with you, review the finished roof, and go over warranty coverage and any maintenance recommendations. The goal is the same one we started with at the consultation: no surprises, and a clear explanation of exactly what was done and why, the same standard we held on a roof leak repair in Malden involving hidden siding and flashing issues and a roof replacement in Wakefield after multiple recurring leaks.

With the old roof off, any soft or damaged decking is replaced before anything new goes down. Skipping this step is one of the most common shortcuts in the industry, and one we don't take.
From there, installation follows Massachusetts building code requirements: ice and water shield along the eaves to prevent ice dam backup, synthetic underlayment across the field of the roof, and new flashing at every penetration, chimneys, skylights, and vent stacks. Flashing failures are one of the most common causes of leaks in older Boston-area homes, which is why this step gets particular attention, as it did on a chimney flashing and roof leak prevention inspection project in Wakefield and a Malden roof replacement that included a full chimney rebuild. If your project also involves masonry work, our chimney repair team coordinates directly with the roofing crew rather than treating it as a separate job.
For homes where gutters, siding, or skylights are part of the broader exterior scope, we typically coordinate those alongside the roof rather than as a separate visit similar to how gutter upgrades and exterior improvements were completed alongside a roof replacement in Malden. Our gutter service, skylight repair, and siding installation teams all work from the same project plan, and homes prone to ice damming may also need snow and ice dam removal addressed as part of the same conversation.

Once installation is complete, the crew does a full site cleanup magnetic nail sweeps for stray fasteners, debris removal, and a check of landscaping and gutters for any leftover material.
We then walk the property with you, review the finished roof, and go over warranty coverage and any maintenance recommendations. The goal is the same one we started with at the consultation: no surprises, and a clear explanation of exactly what was done and why the same standard we held on a roof leak repair in Malden involving hidden siding and flashing issues and a roof replacement in Wakefield after multiple recurring leaks.
This same eight-step process is what's behind every project we complete across Melrose, Medford, Malden, Stoneham, Wakefield, Everett, and Winchester.
You can see it in action across our full project archive, including work that goes beyond roofing, like an insulated siding replacement completed in Melrose and a historic firehouse roof replacement in Malden where matching the existing roofline mattered as much as the underlying system. You can also read more about who's behind that work on our About Us page.
You don't have to guess which step of this process your roof is at. Peak Quality Roofing will inspect your roof in person, document everything with photos, and walk you through exactly what's going on whether that means a simple repair or a full, code-compliant replacement.
Schedule your free Roof Health Report today and get real answers for your home.
Call Peak Quality Roofing: 781-650-7458
Service areas: Melrose, Medford, Malden, Stoneham, Wakefield, Everett, Winchester, and nearby North Boston communities.
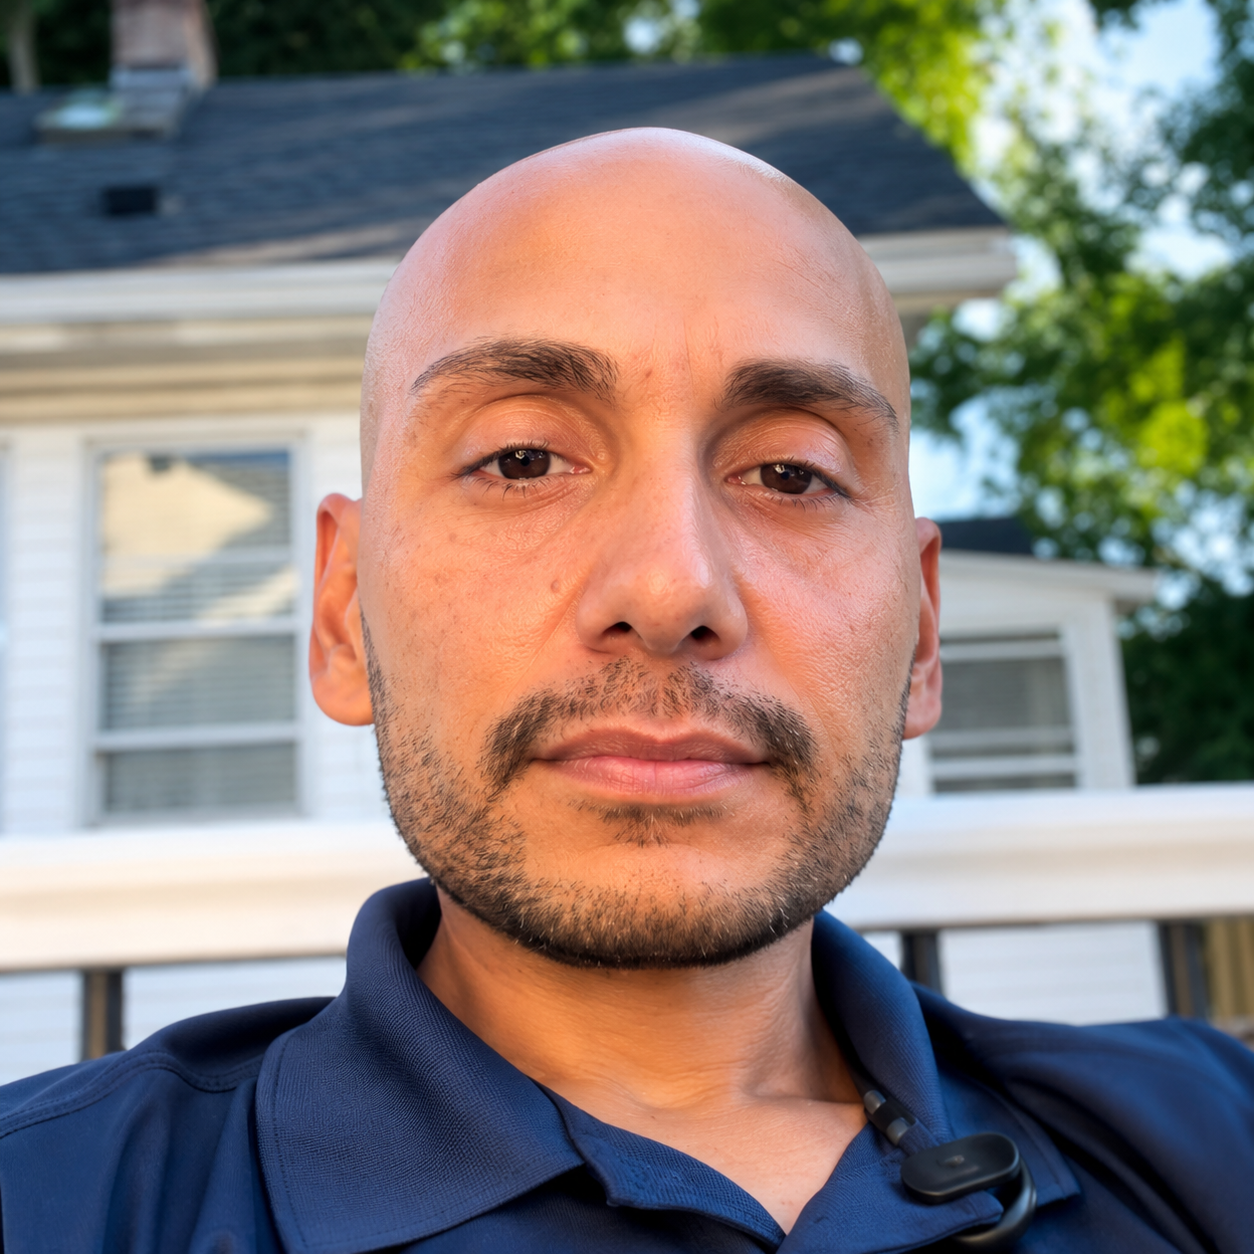
Written By: Jim Rincon
Jim Rincon is the owner of Peak Quality Roofing, a locally owned roofing company based in Melrose, Massachusetts. Jim and the PQR team help homeowners with roof leak inspections, chimney flashing issues, roof repairs, roof replacement, gutters, siding, skylights, and related exterior work across Melrose and nearby North Boston communities.
7 min Read
Siding
Compare common siding options for Massachusetts homes, including durability, maintenance, and long-term value.
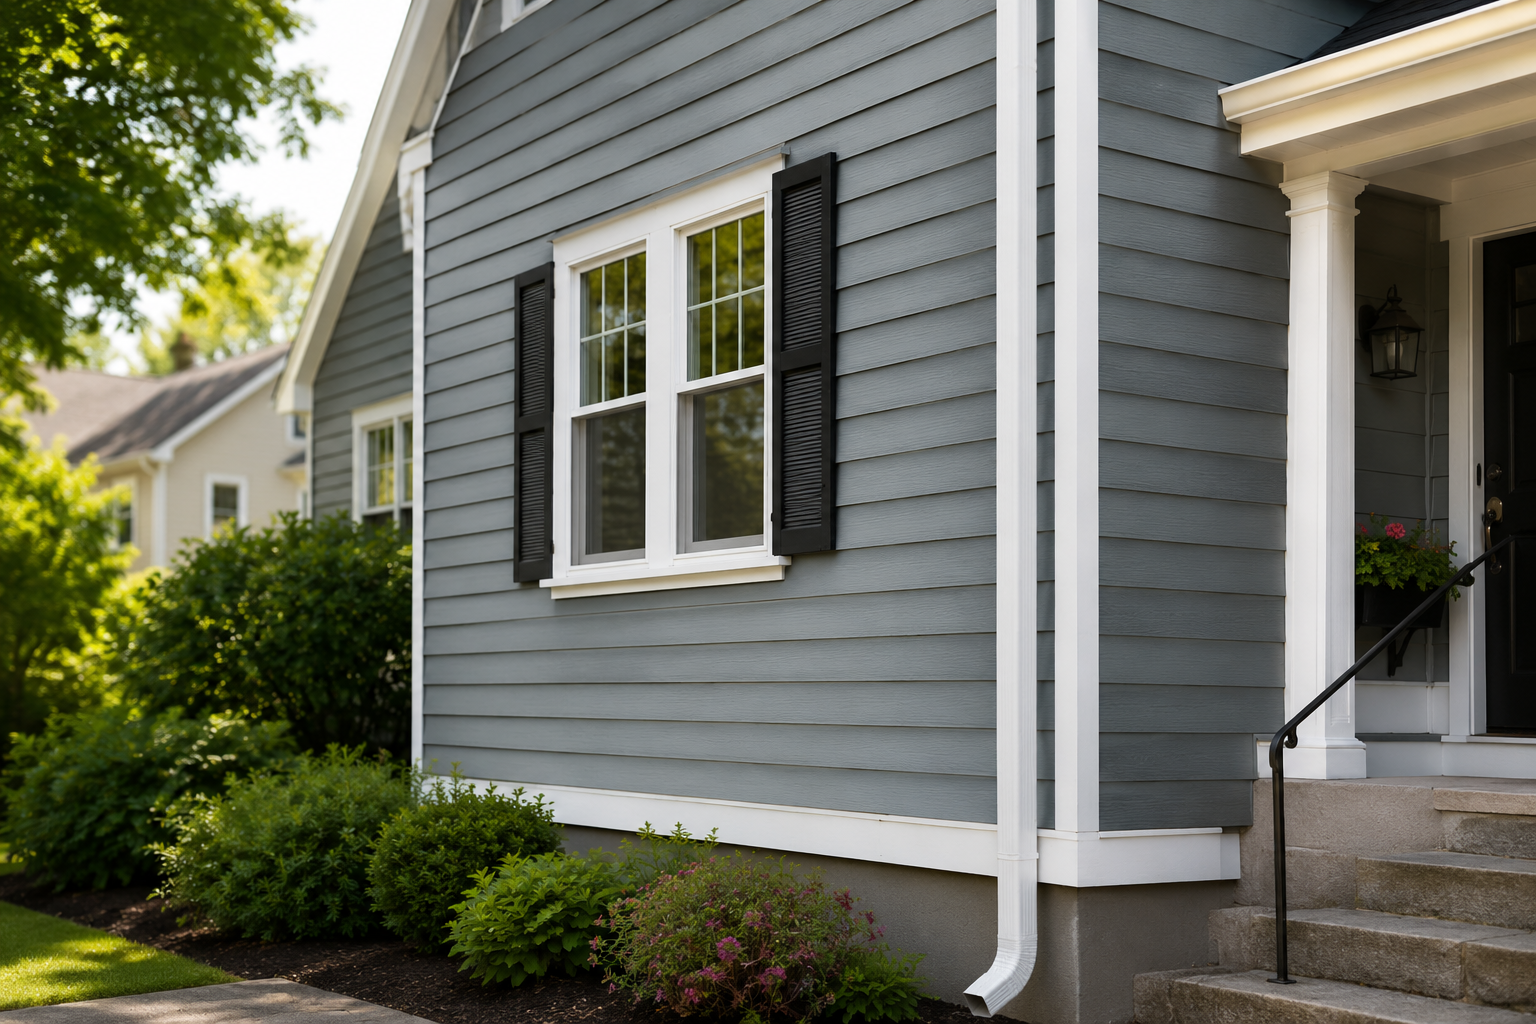 6 min Read
Siding
Learn how siding replacement can affect curb appeal, protection, energy performance, and resale value.
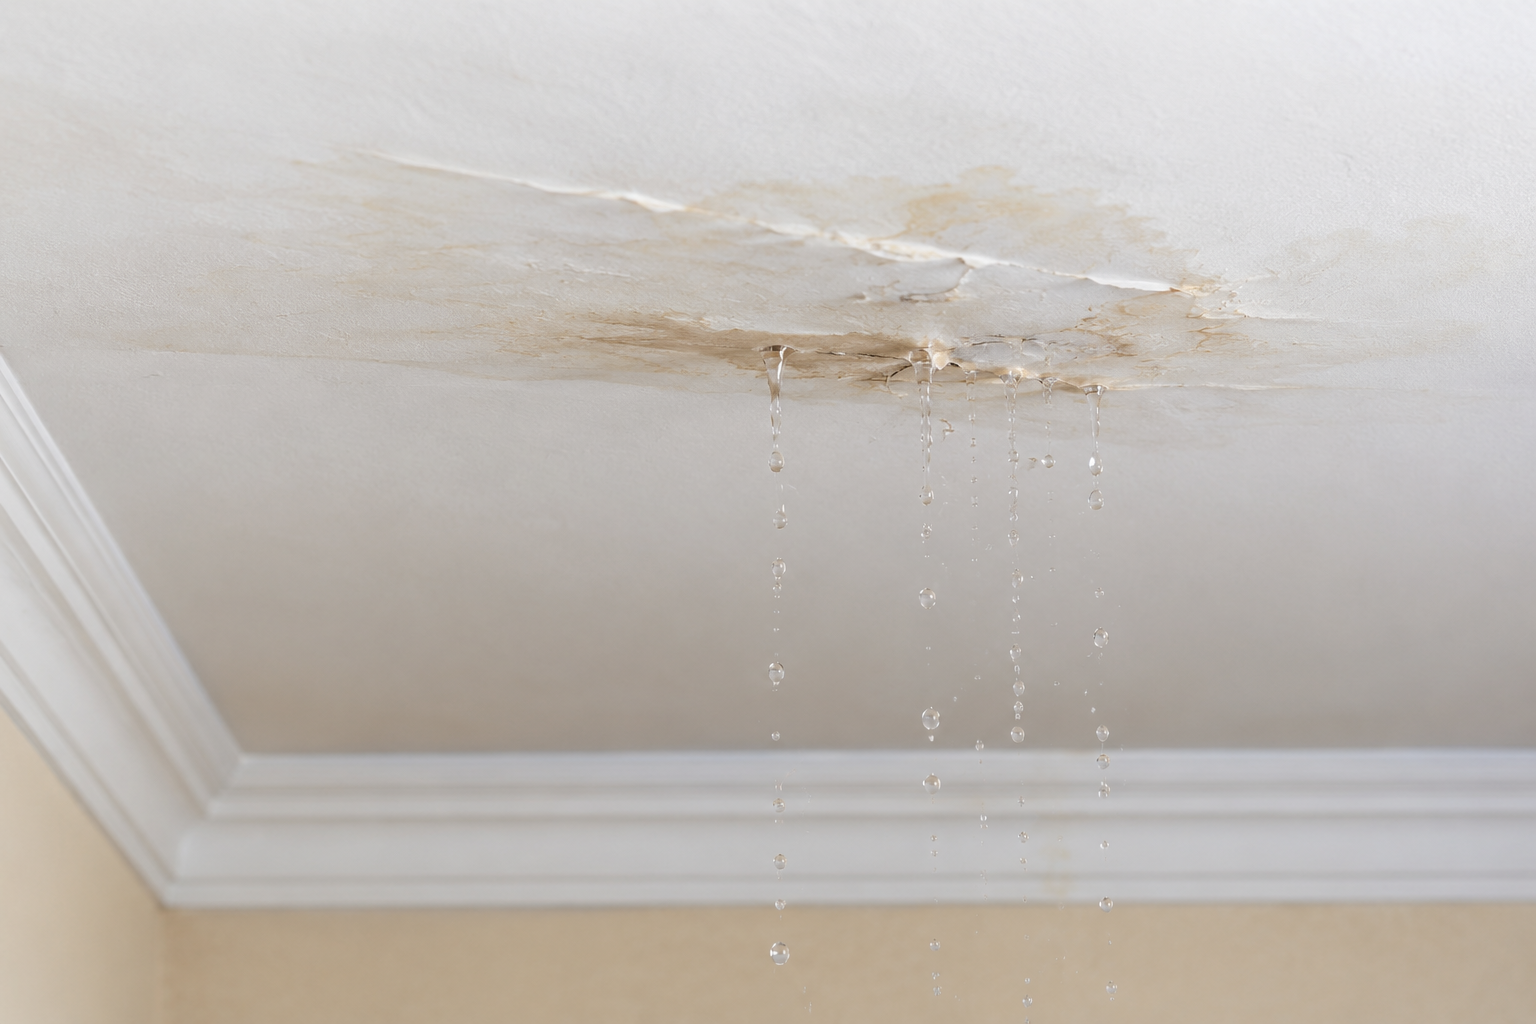 5 min Read
Roof Leaks
Seeing active water coming in? Here are the first steps to take before the damage gets worse.
Fill out the form below and Peak Quality Roofing will follow up with you.
We provide honest roof inspections and clear reports so you can make confident decisions about your home.




OUR SERVICES
Gutter
Skylight
Snow & Ice Removal
SERVICE LOCATIONS
OFFICE LOCATION
58 Mount Vernon Ave, Melrose, MA 02176


CUSTOMER CARE
OFFICE LOCATION
58 Mount Vernon Ave, Melrose, MA 02176

FOLLOW US ON
Copyright 2025. All rights reserved.
Website by Pure Value Advisors